Summer Wreath Making
May Wreath Making Wednesdays: Wreath Stash Magic!
Welcome to May Wreath Making Wednesdays, where we’re diving into our wreath stash and turning it into show stopping decor! This month’s theme is all about simplicity, creativity, and having fun with what you already have on hand. So, pull out your supplies and let’s make a fabulous wreath together!
Here’s what we used:
-
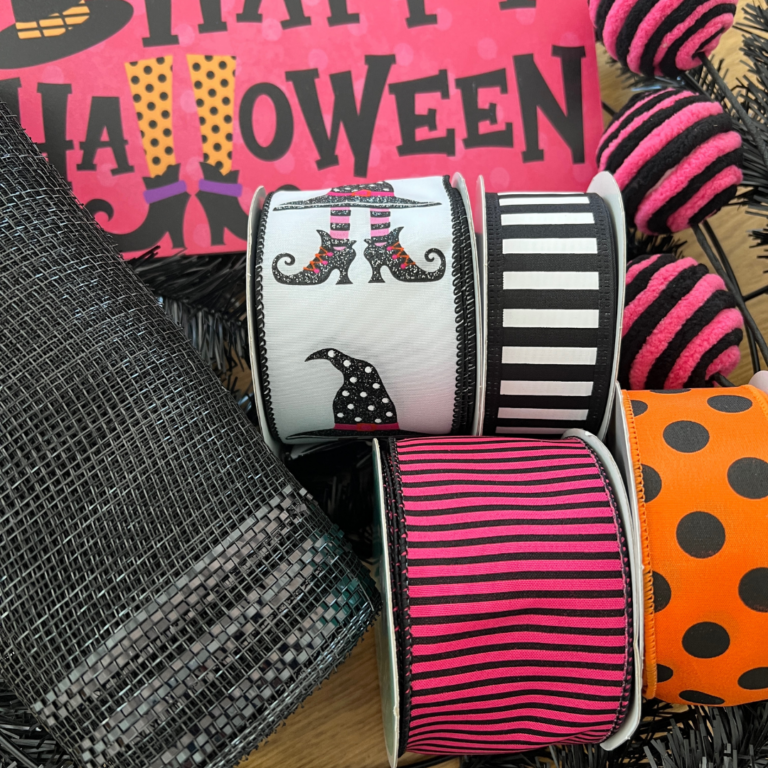
1 Sign (grab one from your stash!)
-
2 rolls of 2.5” ribbon
-
2 rolls of 1.5” ribbon
-
1-2 rolls of 10” deco mesh
-
1 wreath frame (15” with 18 tinsel ties)


You will need these supplies as well:
- Rotary cutter
- Cutting mat for rotary cutter and easy measurement
- Scissors
- Florist wire or chenille stems/pipe cleaners
- Jewelry punch
- EZ bowmaker (if not creating bows by hand)
Now, let’s walk through the process!
1. Cut, Cut, Cut!
-
Ribbon tails: Cut 9 pieces (13” long) of each ribbon.
-
Deco mesh: Cut 18 pieces (36” long each).
-
Don’t forget to dovetail your ribbon tails for a polished finish!

2. Deco Mesh Magic – Woodland Ruffle Style
-
Start at the bottom ring of your frame.
-
Use the woodland ruffle method: curl each mesh end inwards a few times, then pinch in the middle to form a bow-tie shape.
-
Add one ruffle to each tinsel tie, working around the bottom ring and then around the top ring.
-
Fluff your mesh as you go to create a full, lush look!

3. Add Those Gorgeous Ribbon Tails
-
Place one 2.5” and one 1.5” ribbon tail onto each twist tie (no need to untwist, just lay them right on top) and twist.
-
Alternate the ribbons for variety and visual interest.


4. Prep & Attach Your Sign
-
Punch holes at each end of your sign with a jewelry punch.
-
Thread a piece of florist wire through each hole and twist it to secure.
-
Attach the sign to the wreath by running the wire through the mesh and tying it to the frame.
-
Trim your wires to 1” and twist the ends inwards toward the wreath for a neat finish.


5. Let’s Talk Bows!
I decided to go big and bold with two bows on this wreath!
Here’s how I made them using my EZ Bowmaker:
-
First Layer (2.5” ribbon): Two 6” loops, two 8” tails.
-
Second Layer (2.5” ribbon): Two 5” loops, two 7” tails.
-
Third Layer (1.5” ribbon): Three 4” loops, two 6” tails.
-
Fourth Layer (1.5” ribbon): Two 3” loops, two 6” tails.
-
Gather your loops and tails, secure with florist wire, and dovetail all tails.
-
Fluff your bow until it’s full and fabulous.
-
Repeat to make a second bow.


6. Attach Your Bows
-
Place each bow on the wreath in your desired positions.
-
Use the florist wire to twist them onto the frame, right through the deco mesh.
-
Trim the wire to 1” and twist inwards to keep things tidy.

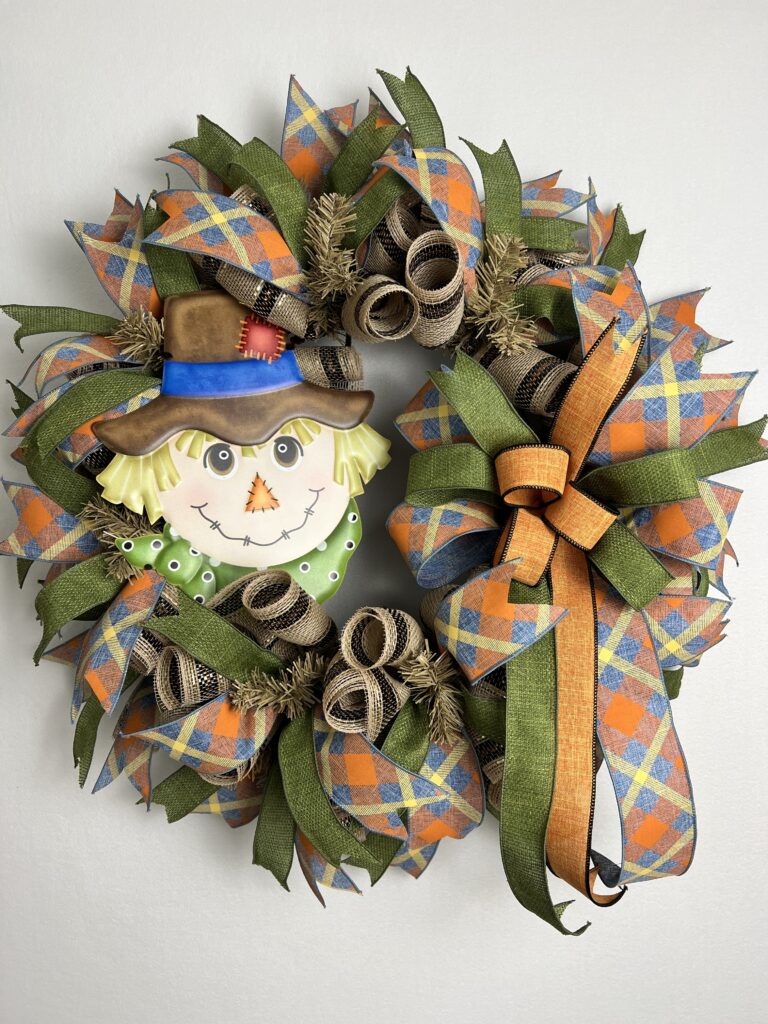
7. The Finishing Touch!
Stand back and admire your beautiful creation! This wreath is a celebration of stash busting, creativity, and fun.
Want to see this process in action?
Watch the full tutorial here:
Part 1 Cutting your ribbon tail and deco mesh
Part 2 Attaching your deco mesh and ribbon tails to your wreath frame
Part 3 Prepping your sign and creating your bows and adding to wreath
Bonus Fun!
-
Share your wreath with us in the community group—I’d love to see your take on this stash-to-showstopper project!
-
Try different sign and ribbon combos to make each wreath uniquely yours.
-
Don’t be afraid to layer in a few extra embellishments from your stash—think florals, picks, or a little sparkle for summer!
Let’s keep the fun going—next time you look at your wreath supplies, you’ll be seeing endless possibilities!