Behind the Scenes: How I Design a Monthly Wreath Kit
Every monthly wreath kit is like a carefully wrapped gift—a blend of creativity, practicality, and a sprinkle of magic. It’s more than just ribbons, mesh, and embellishments; it’s about creating a joyful experience for you and your front door. Today, I’m giving you a peek behind the scenes to show you how I bring each kit to life.
Step 1: Inspiration Sparks Creativity
Each kit starts with a theme. It could be inspired by a holiday, a season, or a specific color palette. I keep a running list of ideas and often find inspiration everywhere—from the changing seasons outside my window in Massachusetts, to the coastal vibes at my family’s beach house on Cape Cod.
For example, the October kit featuring a Hot Chocolate Bar theme came to life because I wanted to bring the cozy, warm feeling of sipping cocoa on a chilly day to your front door.


Step 2: Choosing the Perfect Elements
Once I have a theme, I dive into selecting the right materials. This is one of my favorite parts! For each kit, I aim to include:
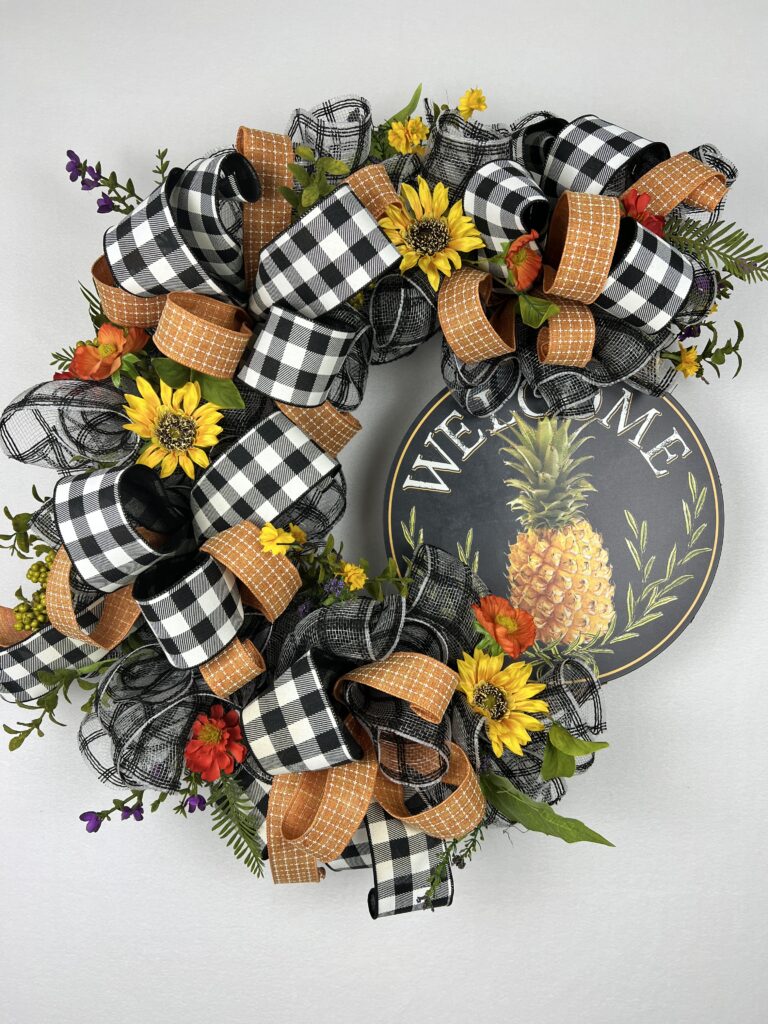
- A standout sign: This is the centerpiece of the design, like the Pink Halloween Witch Legs sign from August or the Nutcracker sign for Christmas in July.

Halloween Sign 
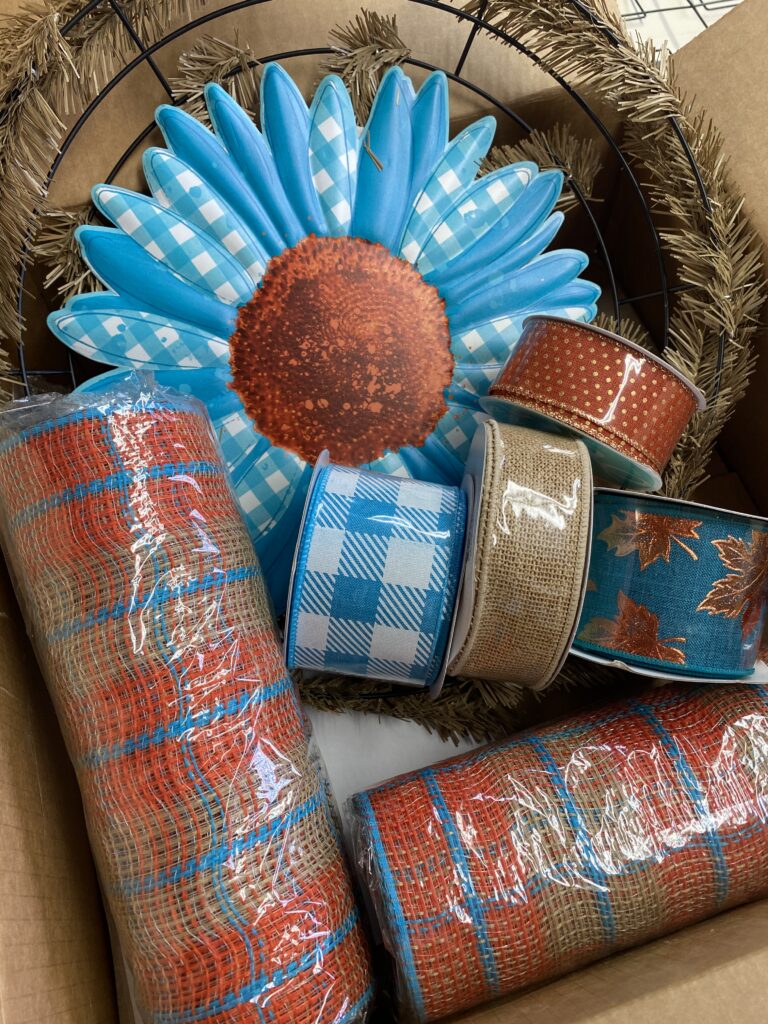
Nutcracker Sign - Coordinating ribbons: I select 3-4 spools of wired ribbon in different patterns and textures to tie the design together. Think stripes, plaids, themed, polka dots, or glitter—each one plays its role in the wreath.

- Deco mesh or greenery: The base sets the tone for the wreath. Whether it’s metallic border stripe mesh for sparkle or a pine green wreath frame for a festive touch, I always aim for high quality and versatility.

Sparkle and stripes deco mesh 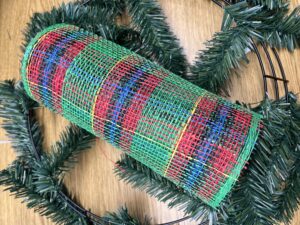
Pine green wreath frame and plaid deco mesh - Bonus items: These little extras—like marshmallow embellishments, floral sprays, or ornaments—add depth and personality.

Boxwood greens and marshmallows 
Christmas Embellishments
Step 3: Balancing Creativity and Practicality
It’s important to me that every kit feels special but also approachable. I ask myself:
- Does this kit match the skill level of my subscribers?
- Are there enough materials to complete a full wreath without overwhelming them?
- Does everything coordinate beautifully?
This ensures you have a smooth and fun wreath-making experience.
Step 4: Creating the Tutorial
Once the kit is finalized, I create a step-by-step video tutorial for my private Facebook community. I demonstrate how to use each piece in the kit and offer tips to make the process simple and enjoyable. My goal is for you to feel like I’m crafting right alongside you!
Step 5: Packing the Kit with Love
Every item in the kit is carefully packed to ensure it arrives in perfect condition. From the moment you open the box, I want you to feel the excitement and see the possibilities.
Step 6: Sharing the Sneak Peek
Before the kits ship, I love building anticipation by sharing sneak peeks on social media. Whether it’s a glimpse of the ribbon or a teaser of the theme, I enjoy connecting with my community and seeing your guesses about what’s inside. 
Why I Love Designing Kits
Designing these kits is more than a business for me—it’s a way to spread joy and creativity. I know the excitement you feel when you open the box, gather your materials, and create something beautiful for your home. That’s what keeps me inspired month after month.
Have you ever wondered how a specific kit theme came to life or what goes into choosing certain materials? I’d love to hear your thoughts! Drop a comment below, or share your favorite wreath kit moment with me.
Happy wreath-making!
Joan
The Wreath Creator