5 Quick Points on Creating your Front Door Wreath
You may be wondering if you should take that leap and DIY your front door wreath. Whether you have the time to make it?
Well if you are like me, you don’t! I have found that if I don’t plan the time – the supplies – the idea, it doesn’t get done! Sometimes I don’t feel like working on a seasonal or holiday wreath for two hours. So I will give you a few tips on still getting those DIY wreaths created.
In this post you will learn: How to find a little time every day to get that wreath done.
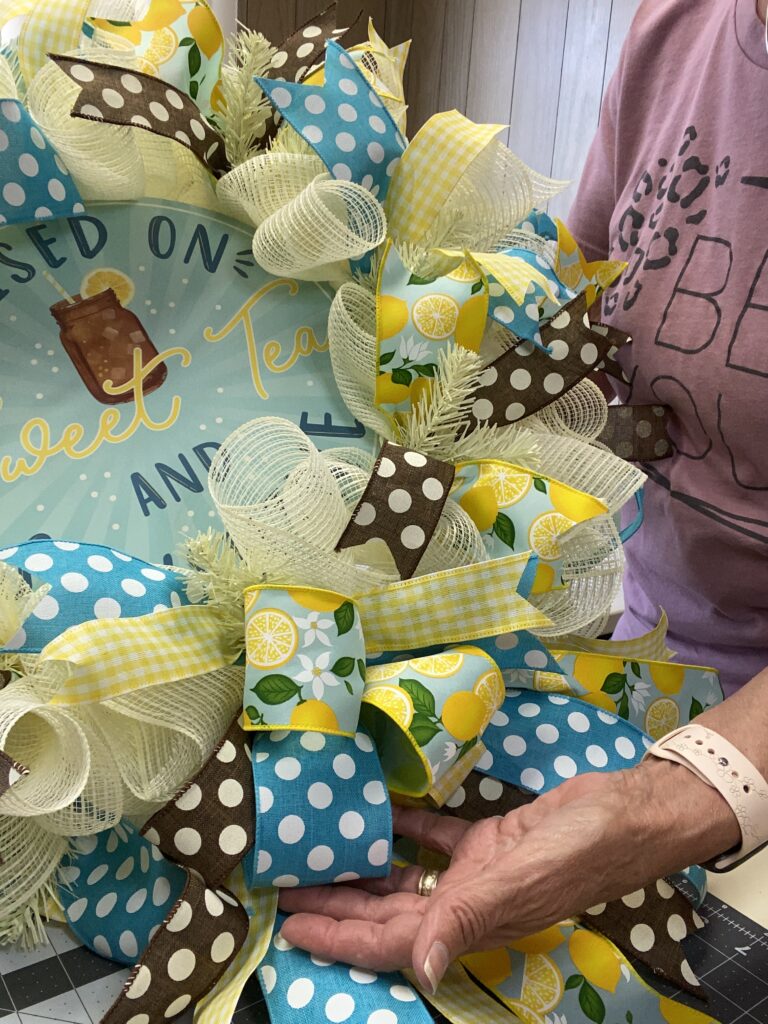
Sunday: Choose your wreath supplies. I chose this summer sign and 4 coordinating ribbons.
- Sign
- 2 -1 1/2″ wired ribbons
- 2 -2 1/2″ wired ribbons
- 1 or 2 rolls of 10″deco mesh
- 1 tinsel wreath form

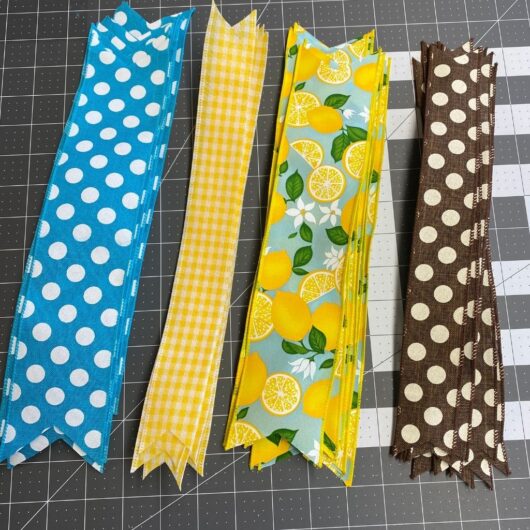
Monday: Cut ribbons and prepare sign.
- 1 1/2″ wired yellow ribbon, 9 pieces @ 13″ each
- 1 1/2″ wired brown ribbon, 9 pieces @ 13″ each
- 2 1/2″ wired turquoise ribbon, 9 pieces @ 13″ each
- 2 1/2″ wired lemon ribbon, 9 pieces @ 13″ each
- Attach floral wire or pipe cleaners to sign

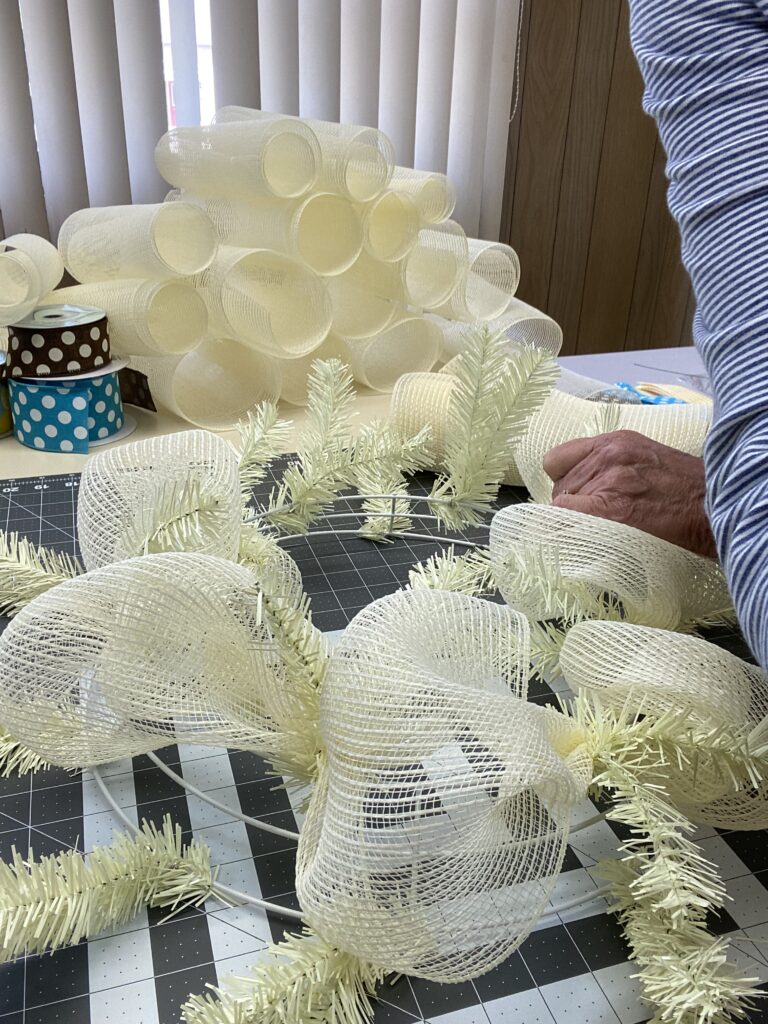
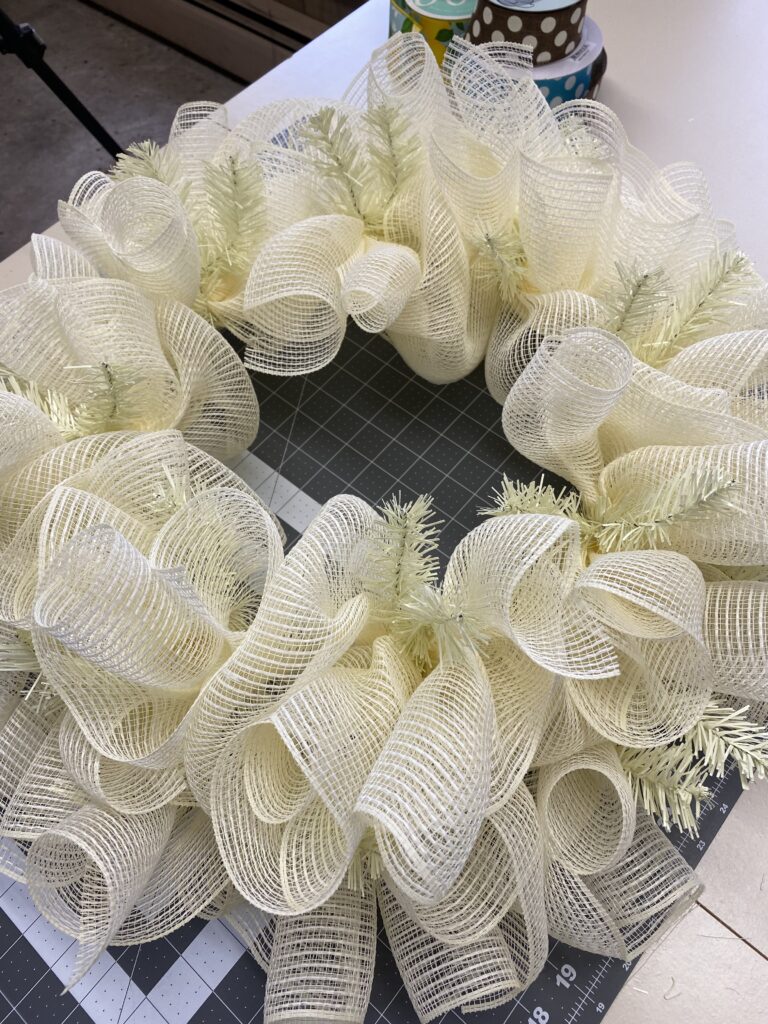
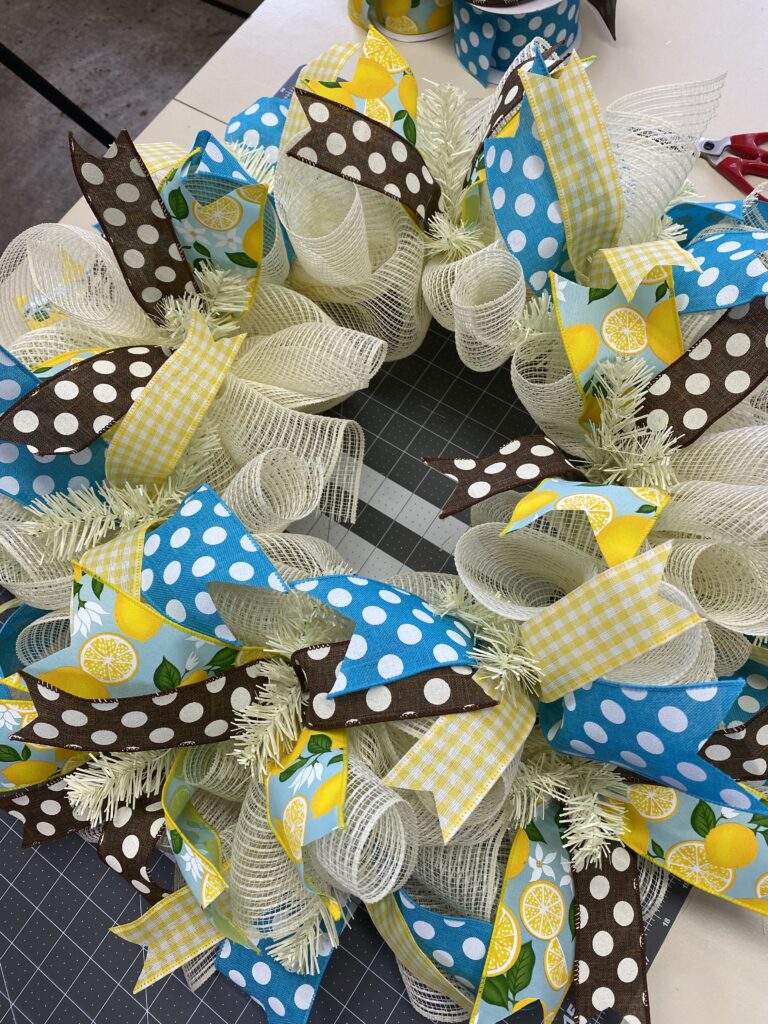
Tuesday: Cut mesh too desired length and attach to wreath form.
- Cut 10″ wide mesh, 18 pieces 20″ long
- Using 10″ poof method, add first layer to wreath base.
- Take 20″ pieces (rolling both ends to middle) and attach one to each tinsel tie.

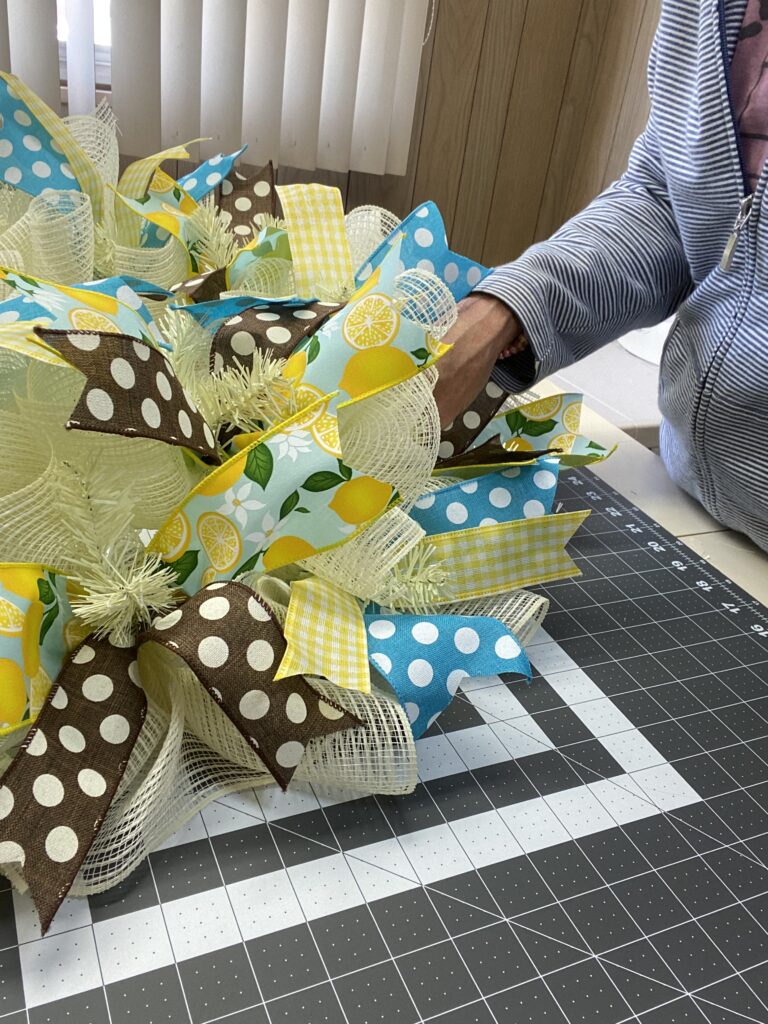
Wednesday: Add ribbons to the wreath and attach sign.
- Take 1, 1-1/2″ ribbon and 1, 2-1/2″ ribbon and alternate the colors around the wreath.
- Attach them to each tinsel tie
- Alternate the colors around the wreath
- Then attach the sign to middle of wreath.

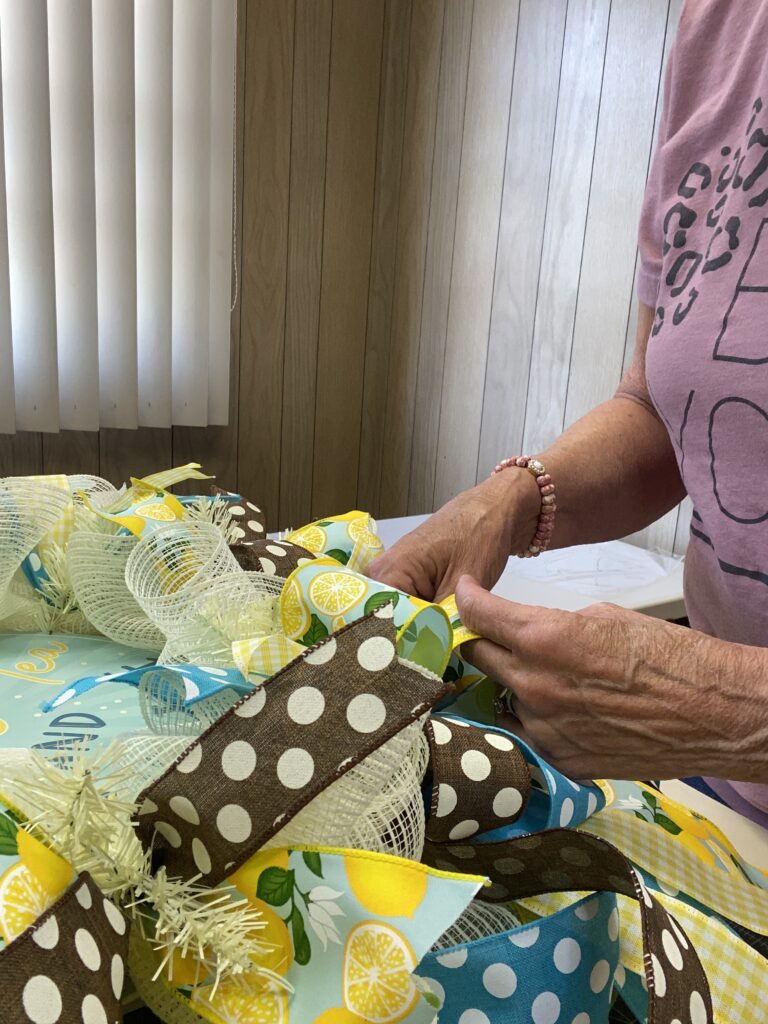
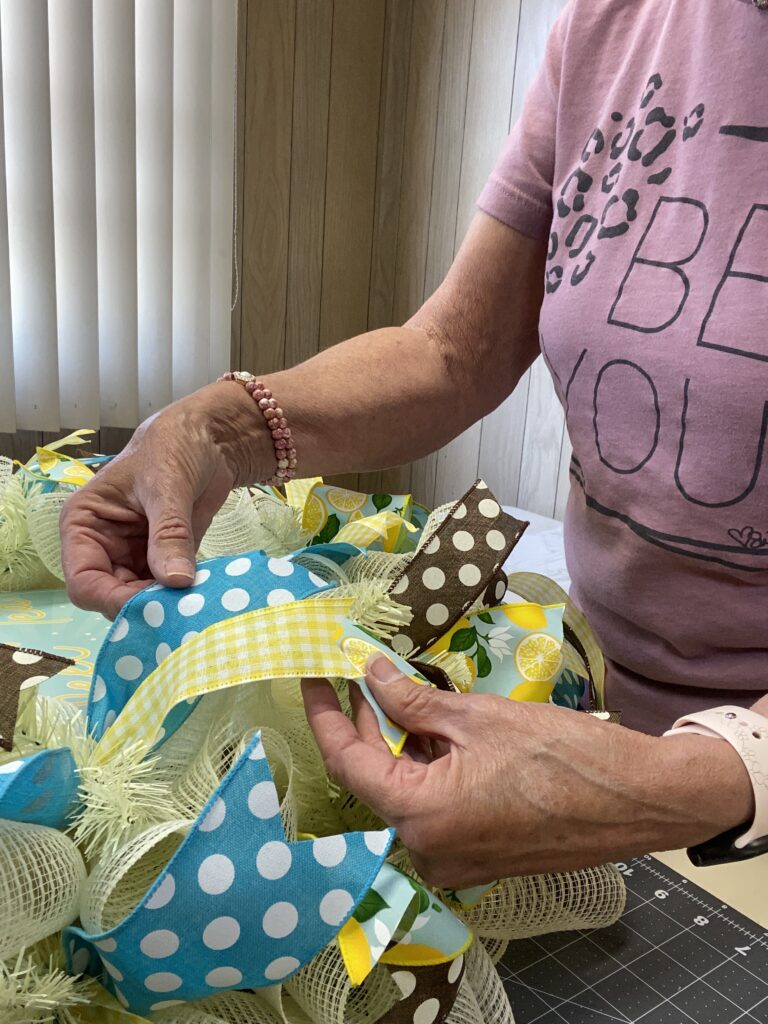
Thursday: Make your bow/bows.
- Using all four ribbon colors make your bow/bows by hand or use a bow maker.
- Choose your placement of bow on the wreath.
- Attach bow.
- Fluff all ribbons and bow.
Hang on front door to welcome your guests.