Patriotic Wreath
Welcome to our patriotic wreath blog!
In this space, we will guide you through the process of creating a stunning and meaningful wreath that exudes patriotism and pride. Whether you’re preparing for a national holiday, showing support for your country, or simply looking to add a touch of patriotic flair to your home decor, we’ve got you covered. With a carefully selected patriotic sign, a variety of wired ribbons in different sizes, vibrant deco mesh, and a wreath frame for wreath makers, you’ll have all the materials necessary to craft a wreath that showcases your love for your nation. Join us as we embark on this creative journey and discover the joy of making a patriotic wreath that reflects your patriotic spirit and decorates your space with pride. Let’s get started!
In this post you will learn:
-
- Count you tinsel ties on your work wreath form, usually there are 10 on the bottom and 8 on the top.
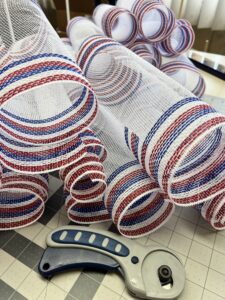
- Cut 9 pieces of each 2.5″ ribbon at 14″ long
- Cut 9 pieces of the 1.5″ ribbon 14″ long
- Dovetail all ribbons
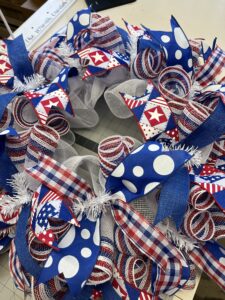
- Cut mesh 18 pieces at 20″ long of your 10″ wide deco mesh with border stripe

Attaching your deco mesh
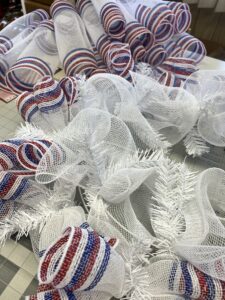
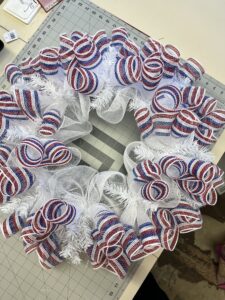
- Make 10″ poofs around the top ring and then the bottom ring and then place another row of 10″ poofs in the middle attaching it over the bottom ring of twist ties.
- Take a 20″ pieces of the border mesh and make a ruffle
- Add all around the bottom ring of the wreath frame and then the top ring of the wreath frame (open each twist tie and place ruffle on top of the poofs, then twist tie closed).

Add ribbon tails to the deco mesh:
- Layer the ribbons together, smaller one on top
- Fold them in half, find the middle, unfold and pinch them in the middle
- Add to twist tie and twist to secure
- Form an X with the ribbons
- Add ribbon tails all around the bottom and top rings of your wreath frame
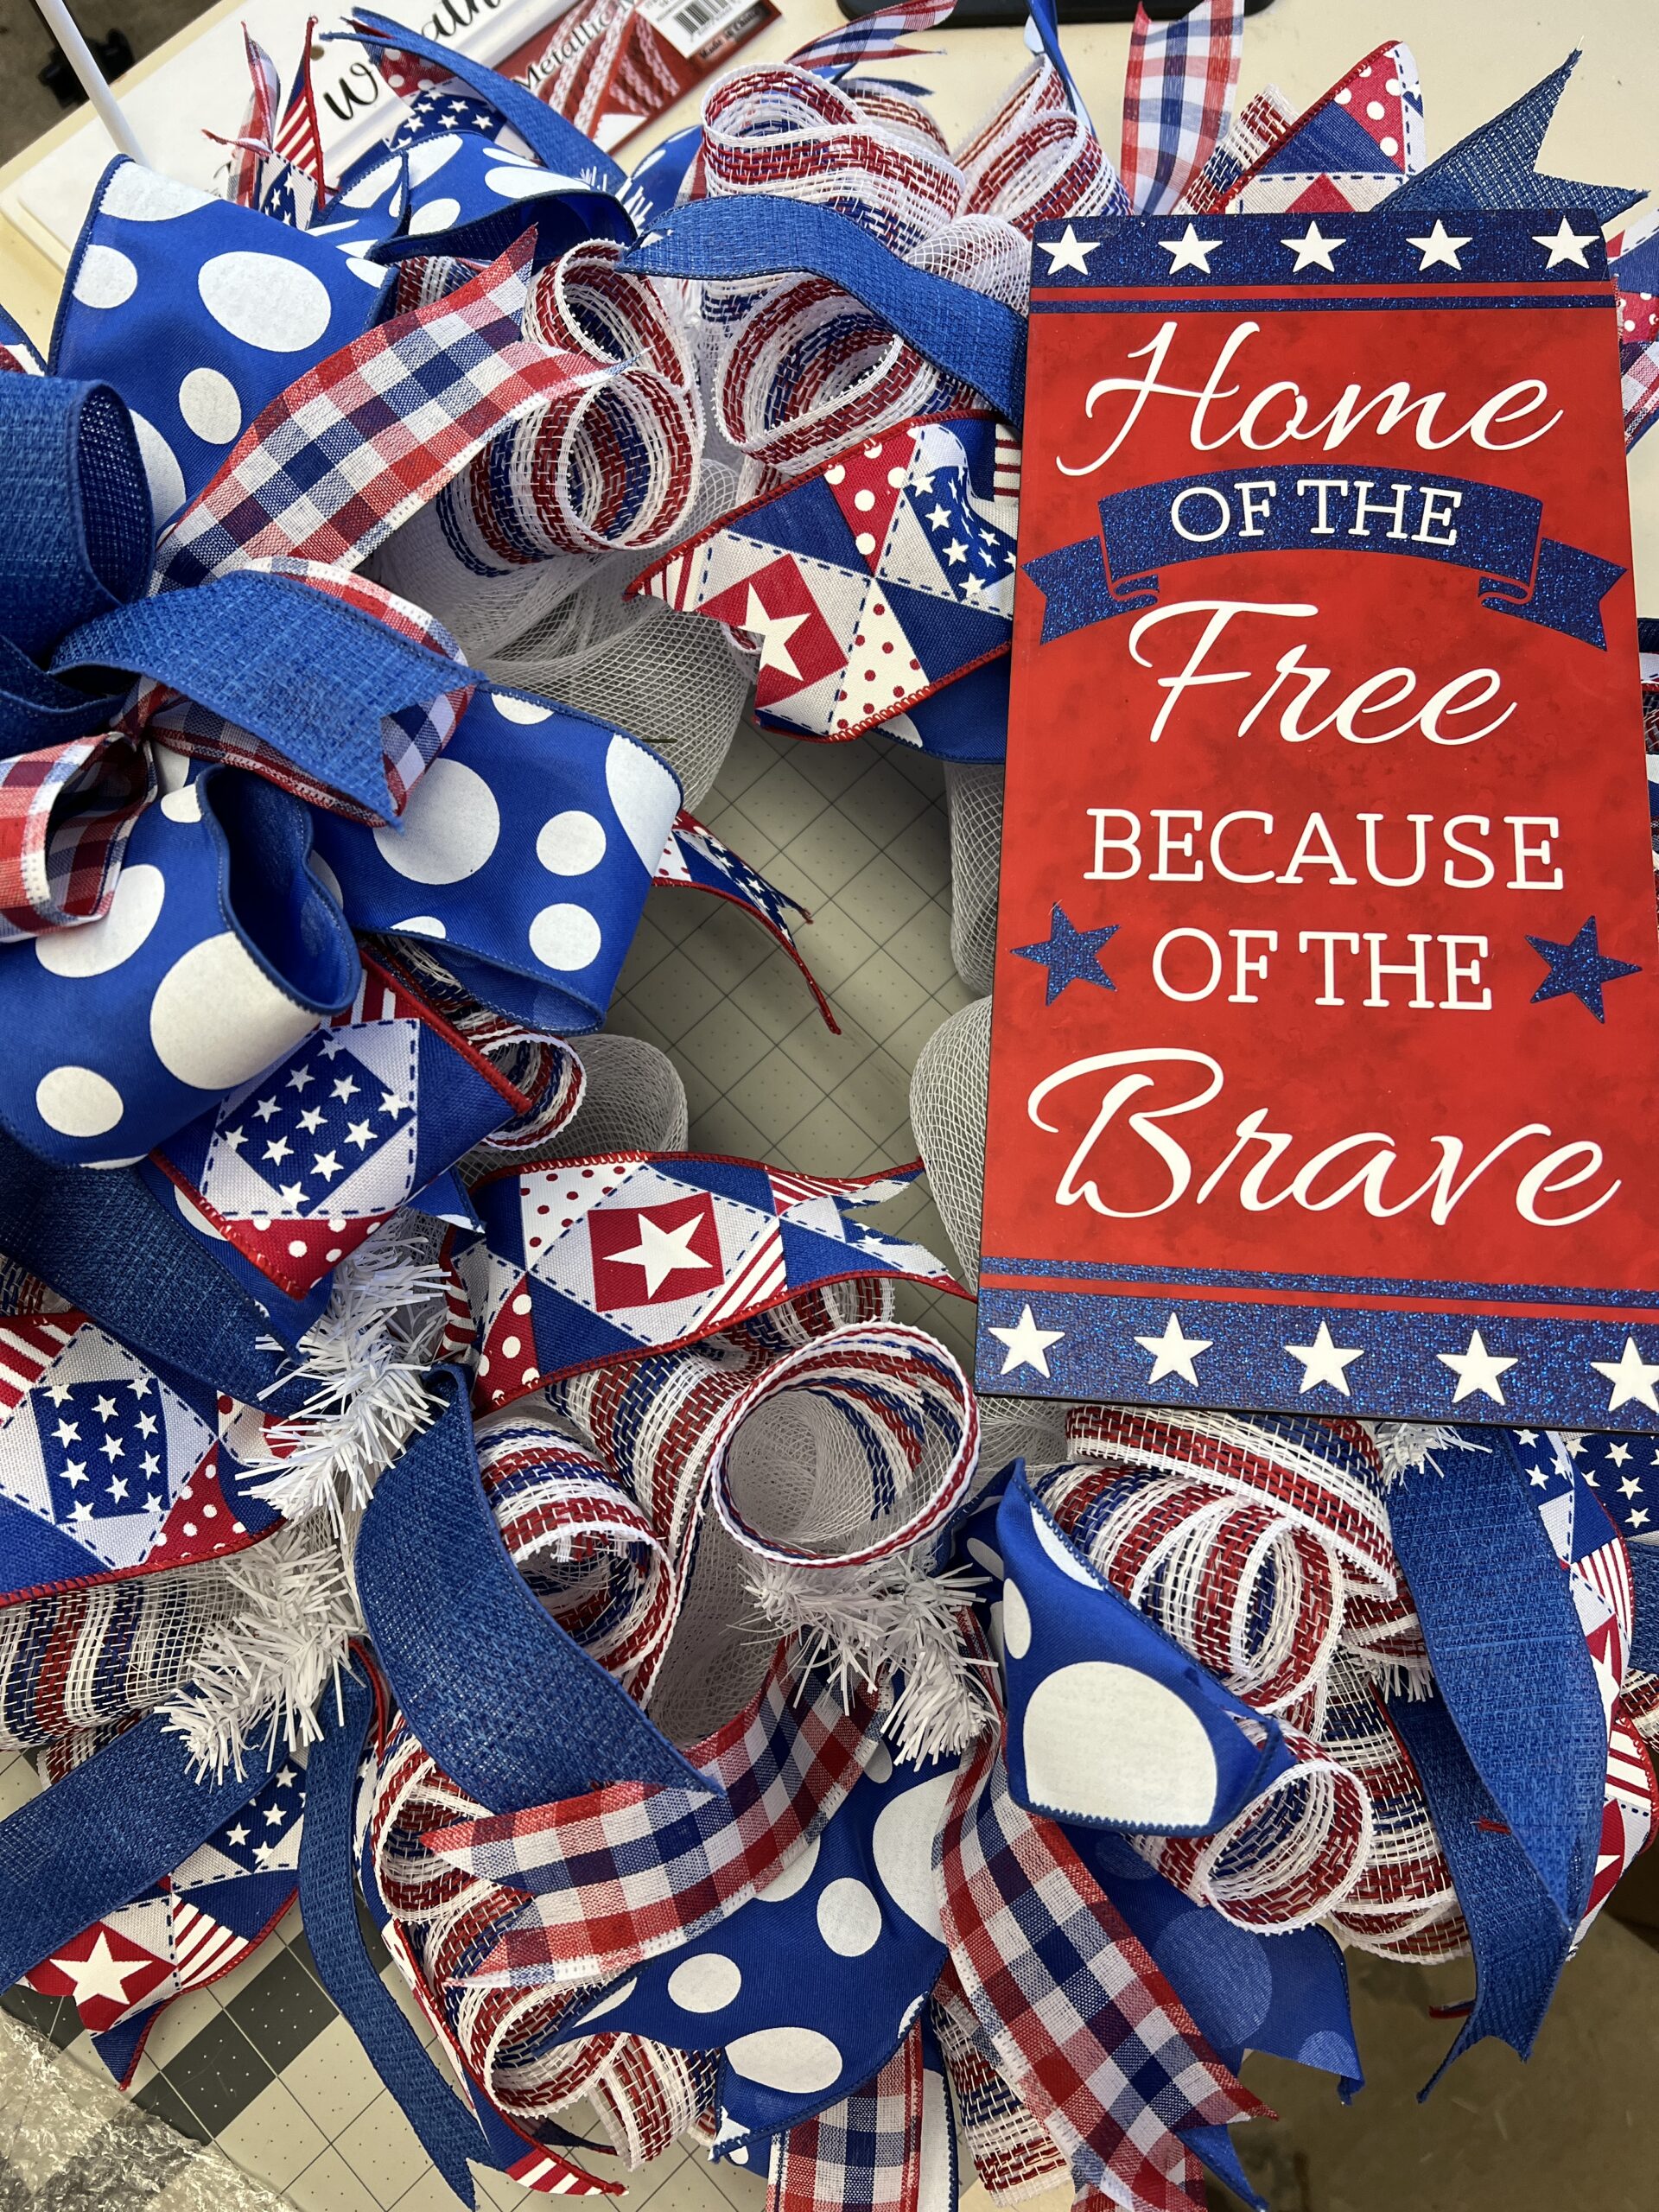
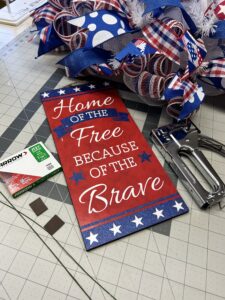
Prep and attach sign to wreath:
- Staple a chenille stem or florist wire in each corner of your sign
- Hot glue over the staples for added strength
- Place sign on wreath and bring the chenille stems (through the spaces between the deco mesh) and twist onto the wire frame, securing it tightly
- Trim any excess of the chenille stem with wire cutters
- Add a chenille stem hanger to outer wire of wreath work form

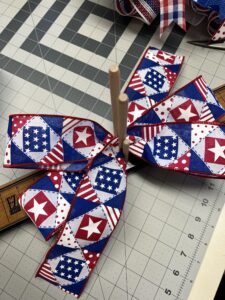
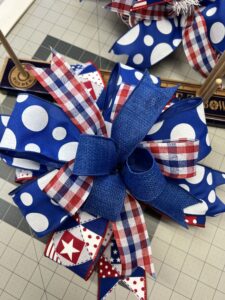
Make a Bow:
- Using an E-Z Bowmaker, take your 2-1/2″ ribbon and measure out an 8″ ribbon tail with ribbon facing up
- Twisting the ribbon as you bring it thru the 2 wooden dowels,(the ribbon will be facing down) measure 6 inches and loop the ribbon back thru the dowels
- Twisting the ribbon again as you bring it thru the dowels, (the ribbon will be facing down) measure 6 inches and loop the ribbon back thru the dowels
- Twisting the ribbon again as before one more time for a third loop, then just bring your ribbon thru the dowels without twisting it
- Measure out an 8″ tail and cut
- Continue with your next 2-1/2″ ribbon, measure 7″ ribbon tail and 5″ bow loops with another 7″ ribbon tail and cut as before.
- Add your next layer of ribbon using the 1-1/2″ ribbon measure out 6″ ribbon tail and 4″ bow loops, make only 3 bow loops this layer another 6″ tail and cut.
- Add your last layer of ribbon using the 1-1/2″ ribbon measure out 5″ ribbon tail and 3″ bow loops, make only 3 bow loops this layer and 5″ tail and cut.
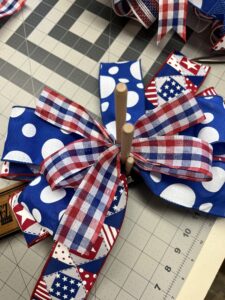
- Take 2 chenille stems and twist them together to make one long one or use florist wire.
- Hold your bow close to the dowels tightly as you remove it from the bow maker.
- Wrap chenille stem around the center and twist the chenille stems, not the bow, to tighten
- Dovetail your ribbon tails and fluff your bow
- Beautiful!


Placement of your bow:
- Placing your bow on your wreath is entirely up to you. Just remember not to cover any words on your sign with your bow.
- Place your bow on your wreath and pass the chenille stems (through the spaces between the deco mesh) and twist onto the wire frame, securing it tightly.
- Trim off any excess of the chenille stem with wire cutters.

Hope you have enjoyed this quick tutorial as much as I have sharing it with you.
Happy Wreath Creating,
Joan,
The Wreath Creator
-
- What Supplies you will need to make a Patriotic deco mesh wreath
- Cutting your ribbon tails and deco mesh
- Attaching your deco mesh and ribbon tails to your wire wreath frame
- Prepping and attaching your sign
- Making your bow/bows and attaching them to your wreath
- Adding picks to your wreath
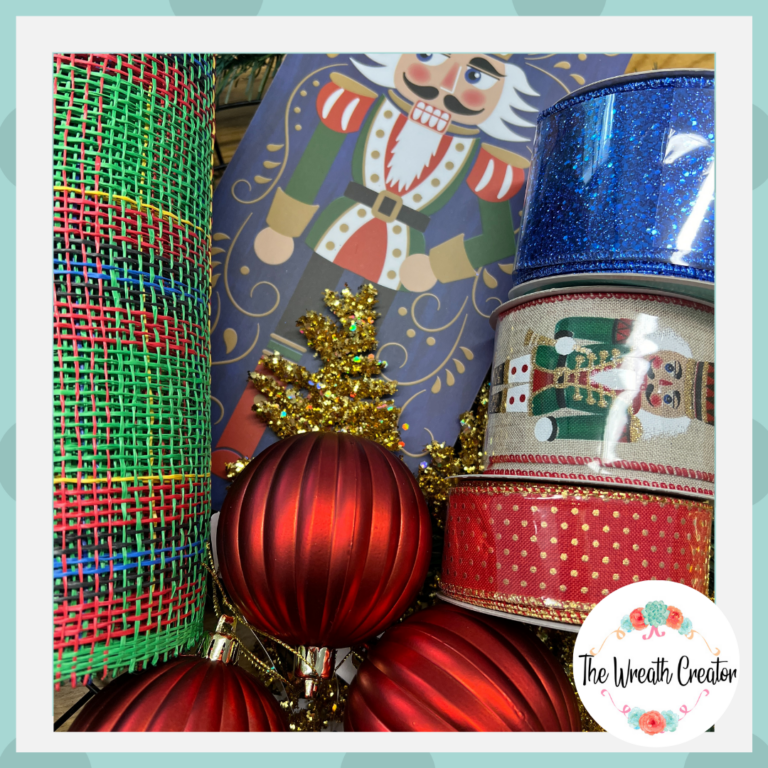
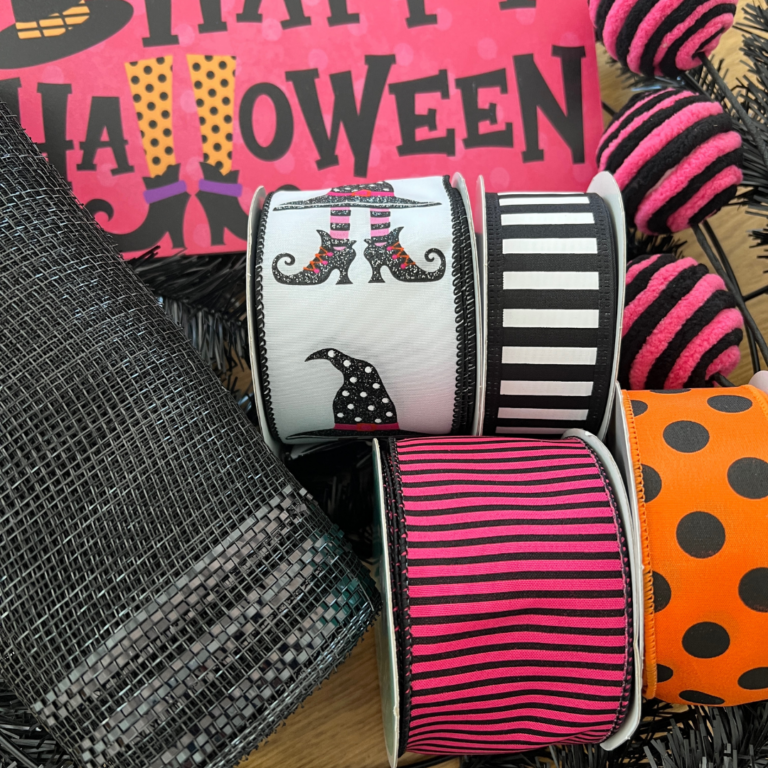
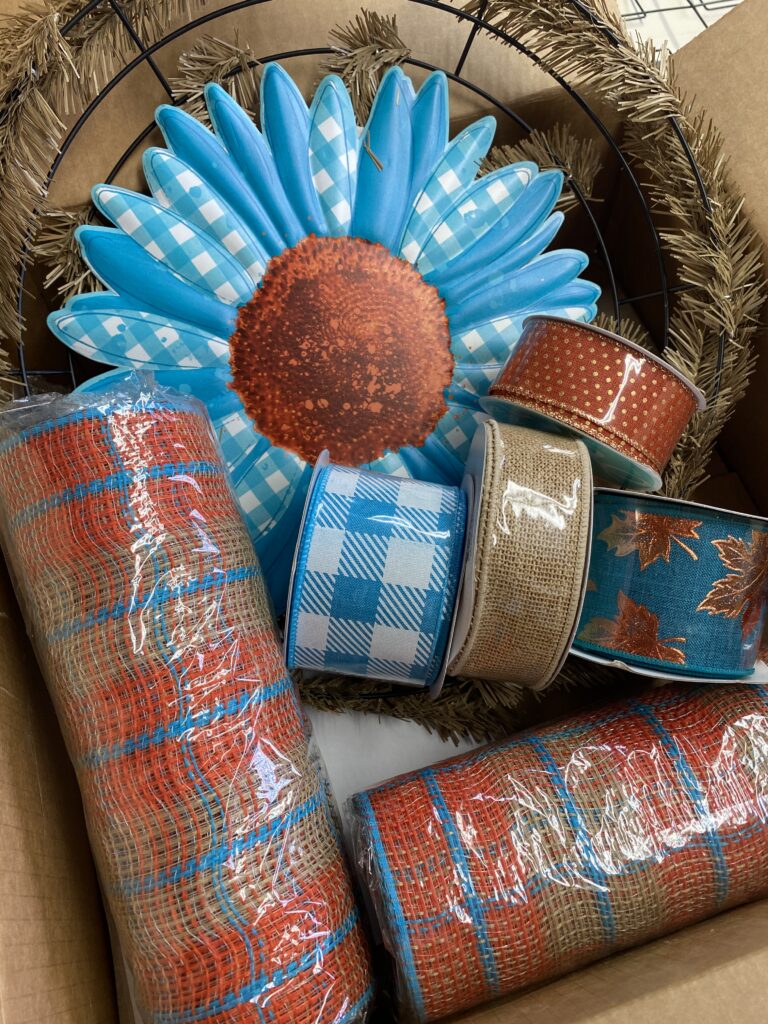
- To make a Patriotic wreath, you will need:
- Patriotic sign
- 15″ tinsel tie wreath work form (white, red or blue) any color that coordinates with your ribbons and sign
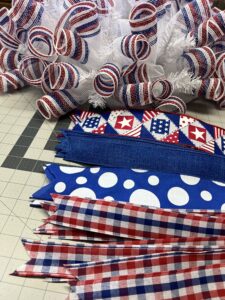
- Two rolls of 1.5″ wired ribbon that coordinates with your sign
- Two rolls or 2.5″ wired ribbon that coordinates with your sign
- 2-10″ wide rolls of deco mesh, one solid white, one white w/border stripe.
- Scissors
- Cutting mat
- Rotary cutter
- Chenille stems, pipe cleaners or florist wire
- Heavy duty staple gun with 1/4″ staples
-
- Count you tinsel ties on your work wreath form, usually there are 10 on the bottom and 8 on the top.
- Cut 9 pieces of each 2.5″ ribbon at 14″ long
- Cut 9 pieces of the 1.5″ ribbon 14″ long
- Dovetail all ribbons
- Cut mesh 18 pieces at 20″ long of your 10″ wide deco mesh with border stripe
-
Attaching your deco mesh
- Make 10″ poofs around the top ring and then the bottom ring and then place another row of 10″ poofs in the middle attaching it over the bottom ring of twist ties.
- Take a 20″ pieces of the border mesh and make a ruffle
- Add all around the bottom ring of the wreath frame and then the top ring of the wreath frame (open each twist tie and place ruffle on top of the poofs, then twist tie closed).
Add ribbon tails to the deco mesh:
- Layer the ribbons together, smaller one on top
- Fold them in half, find the middle, unfold and pinch them in the middle
- Add to twist tie and twist to secure
- Form an X with the ribbons
- Add ribbon tails all around the bottom and top rings of your wreath frame
Prep and attach sign to wreath:
- Staple a chenille stem or florist wire in each corner of your sign
- Hot glue over the staples for added strength
- Place sign on wreath and bring the chenille stems (through the spaces between the deco mesh) and twist onto the wire frame, securing it tightly
- Trim any excess of the chenille stem with wire cutters
- Add a chenille stem hanger to outer wire of wreath work form
Make a Bow:
- Using an E-Z Bowmaker, take your 2-1/2″ ribbon and measure out an 8″ ribbon tail with ribbon facing up
- Twisting the ribbon as you bring it thru the 2 wooden dowels,(the ribbon will be facing down) measure 6 inches and loop the ribbon back thru the dowels
- Twisting the ribbon again as you bring it thru the dowels, (the ribbon will be facing down) measure 6 inches and loop the ribbon back thru the dowels
- Twisting the ribbon again as before one more time for a third loop, then just bring your ribbon thru the dowels without twisting it
- Measure out an 8″ tail and cut
- Continue with your next 2-1/2″ ribbon, measure 7″ ribbon tail and 5″ bow loops with another 7″ ribbon tail and cut as before.
- Add your next layer of ribbon using the 1-1/2″ ribbon measure out 6″ ribbon tail and 4″ bow loops, make only 3 bow loops this layer another 6″ tail and cut.
- Add your last layer of ribbon using the 1-1/2″ ribbon measure out 5″ ribbon tail and 3″ bow loops, make only 3 bow loops this layer and 5″ tail and cut.
- Take 2 chenille stems and twist them together to make one long one or use florist wire.
- Hold your bow close to the dowels tightly as you remove it from the bow maker.
- Wrap chenille stem around the center and twist the chenille stems, not the bow, to tighten
- Dovetail your ribbon tails and fluff your bow
- Beautiful!
Placement of your bow:
- Placing your bow on your wreath is entirely up to you. Just remember not to cover any words on your sign with your bow.
- Place your bow on your wreath and pass the chenille stems (through the spaces between the deco mesh) and twist onto the wire frame, securing it tightly.
- Trim off any excess of the chenille stem with wire cutters.