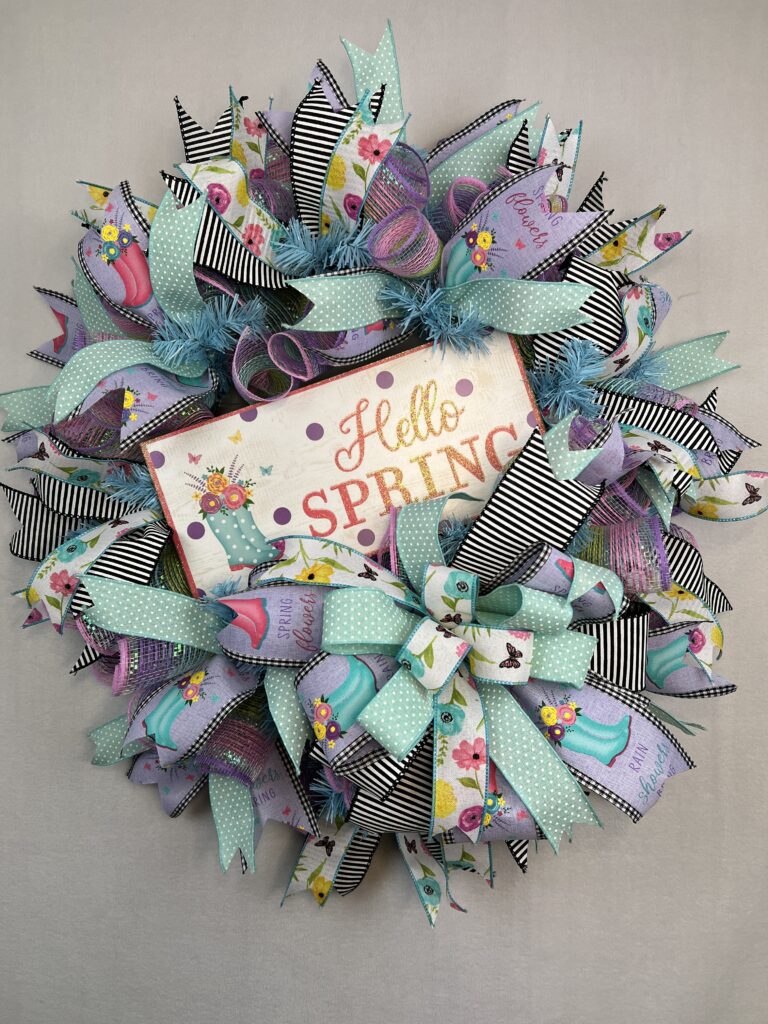
Watermelon Summer Wreath
Are you ready to add some summertime fun to your home decor?
Look no further than a watermelon summer deco mesh wreath! This adorable wreath is perfect for greeting guests at your front door or adding a touch of whimsy to any room in your house. Creating your own watermelon wreath may seem daunting, but with the right materials and a few easy steps, you’ll have a unique and eye-catching piece in no time. In this blog, I’ll walk you through the process of creating your own watermelon summer deco mesh wreath, from selecting the perfect materials to assembling and hanging your finished product. Let’s get started and create a wreath that will be the envy of all your summer visitors!

In this post you will learn:
- What Supplies you will need to make a Watermelon Summer Deco Mesh Wreath
- Cutting your ribbon tails and deco mesh
- Attaching your deco mesh and ribbon tails to your wire wreath frame
- Prepping and attaching your sign
- Making your bow/bows and attaching them to your wreath
Summer is here, and what better way to add some fruity fun to your home decor than with a DIY watermelon wreath?
To make a Watermelon deco mesh wreath, you will need:
- Watermelon sign
- 24″ tinsel tie wreath work form (red, white, pink or green)
- Two rolls of 1-1/2″ wired ribbon that coordinates with your sign
- Two rolls or 2-1/2″ wired ribbon that coordinates with your sign
- Two rolls of red or pink or green 10″ deco mesh
- scissors
- cutting mat
- rotary cutter
- chenille stems, pipe cleaners or florist wire

Cutting your ribbons and deco mesh:
- Count you tinsel ties on your work wreath form, usually there are 18 ties.
- Cut 9 pieces of each ribbon at 14″ long
- Dovetail all ribbons
- Cut mesh 18 pieces at 20″ long using red, pink or green 10″ wide deco mesh
Add your deco mesh to your wreath work form:
- Make 10″ poofs all around the top and bottom ring of the wreath framehttps://youtu.be/tSFk52yRhOA
- Using the 20″ pieces of deco mesh make a ruffle, untwist twist tie and add to each twist tie on the bottom and top ring of the wreath frame
Add ribbon tails to the deco mesh:
- Layer the ribbons together, narrow one on top
- Fold them in half, unfold and pinch them in the middle
- Add to twist tie and twist to secure
- Form an X with the ribbons
Prep and attach sign to wreath:
- Punch holes in 3-4 places on your metal sign with a jewelry hand punch
- Attach chenille stems to sign
- Place sign on wreath and bring the chenille stems (through the spaces between the deco mesh) and twist onto the wire frame, securing it tightly
- Trim any excess of the chenille stem with wire cutters
- Add a chenille stem hanger to outer wire of wreath work for hanger.
Make a Bow:
- Using an E-Z Bowmaker, take your 2-1/2″ ribbon and measure out an 8″ ribbon tail with ribbon facing up
- Twisting the ribbon as you bring it thru the 2 wooden dowels,(the ribbon will be facing down) measure 6 inches and loop the ribbon back thru the dowels
- Twisting the ribbon again as you bring it thru the dowels, (the ribbon will be facing down) measure 6 inches and loop the ribbon back thru the dowels
- Twisting the ribbon again as before one more time for a third loop and fourth loop, then just bring your ribbon thru the dowels without twisting it
- Measure out an 8″ tail and cut
- Add your next layer of ribbon using the 1-1/2″ ribbon starting on the opposite side
- Next layer, your other 1-1/2″ inch ribbon
- Take 2 chenille stems and twist them together to make one long one
- Hold your bow close to the dowels tightly as you remove it from the bow maker.
- Wrap chenille stem around the center and twist the chenille stems, not the bow, to tighten
- Dovetail your ribbon tails and fluff your bow
- Beautiful!
Placement of your bow:
- Placing your bow on your wreath is entirely up to you. Just remember not to cover your sign with your bow.
- Place your bow on your wreath and pass the florist wire or chenille stems (through the spaces between the deco mesh) and twist onto the wire frame, securing it tightly.
- Trim wire or chenille stem with wire cutters.
- And your wreath is ready to hang on your front door!
Hope you have enjoyed this tutorial as much as I have sharing it with you.
Happy Wreath Creating,
Joan,
The Wreath Creator