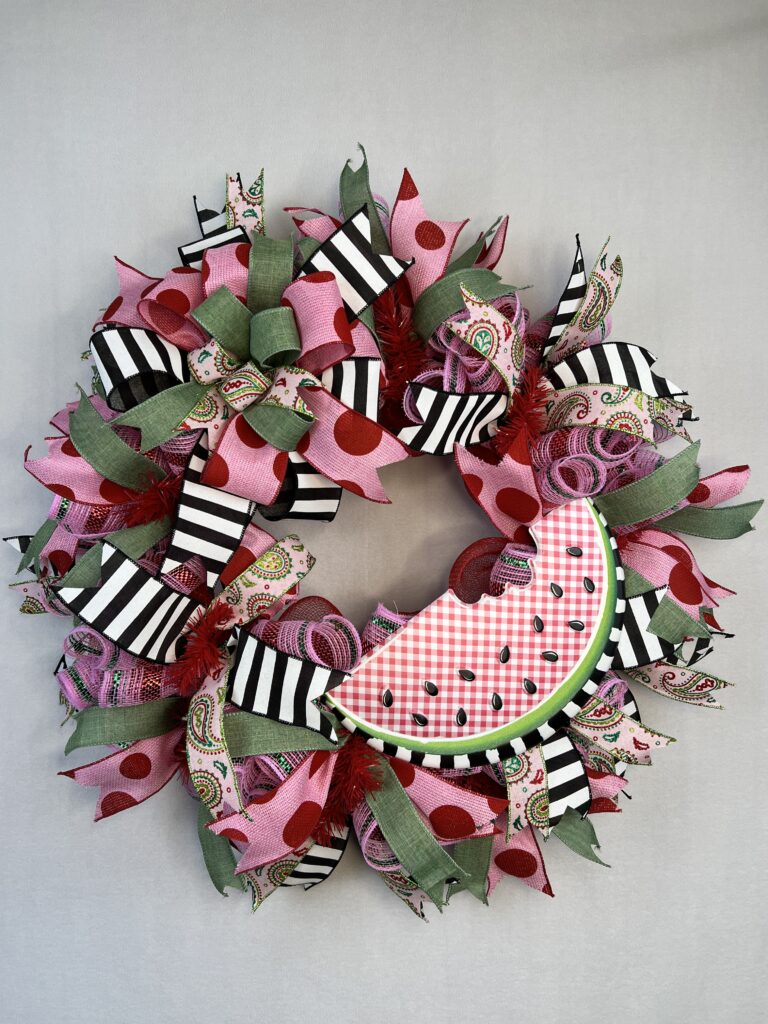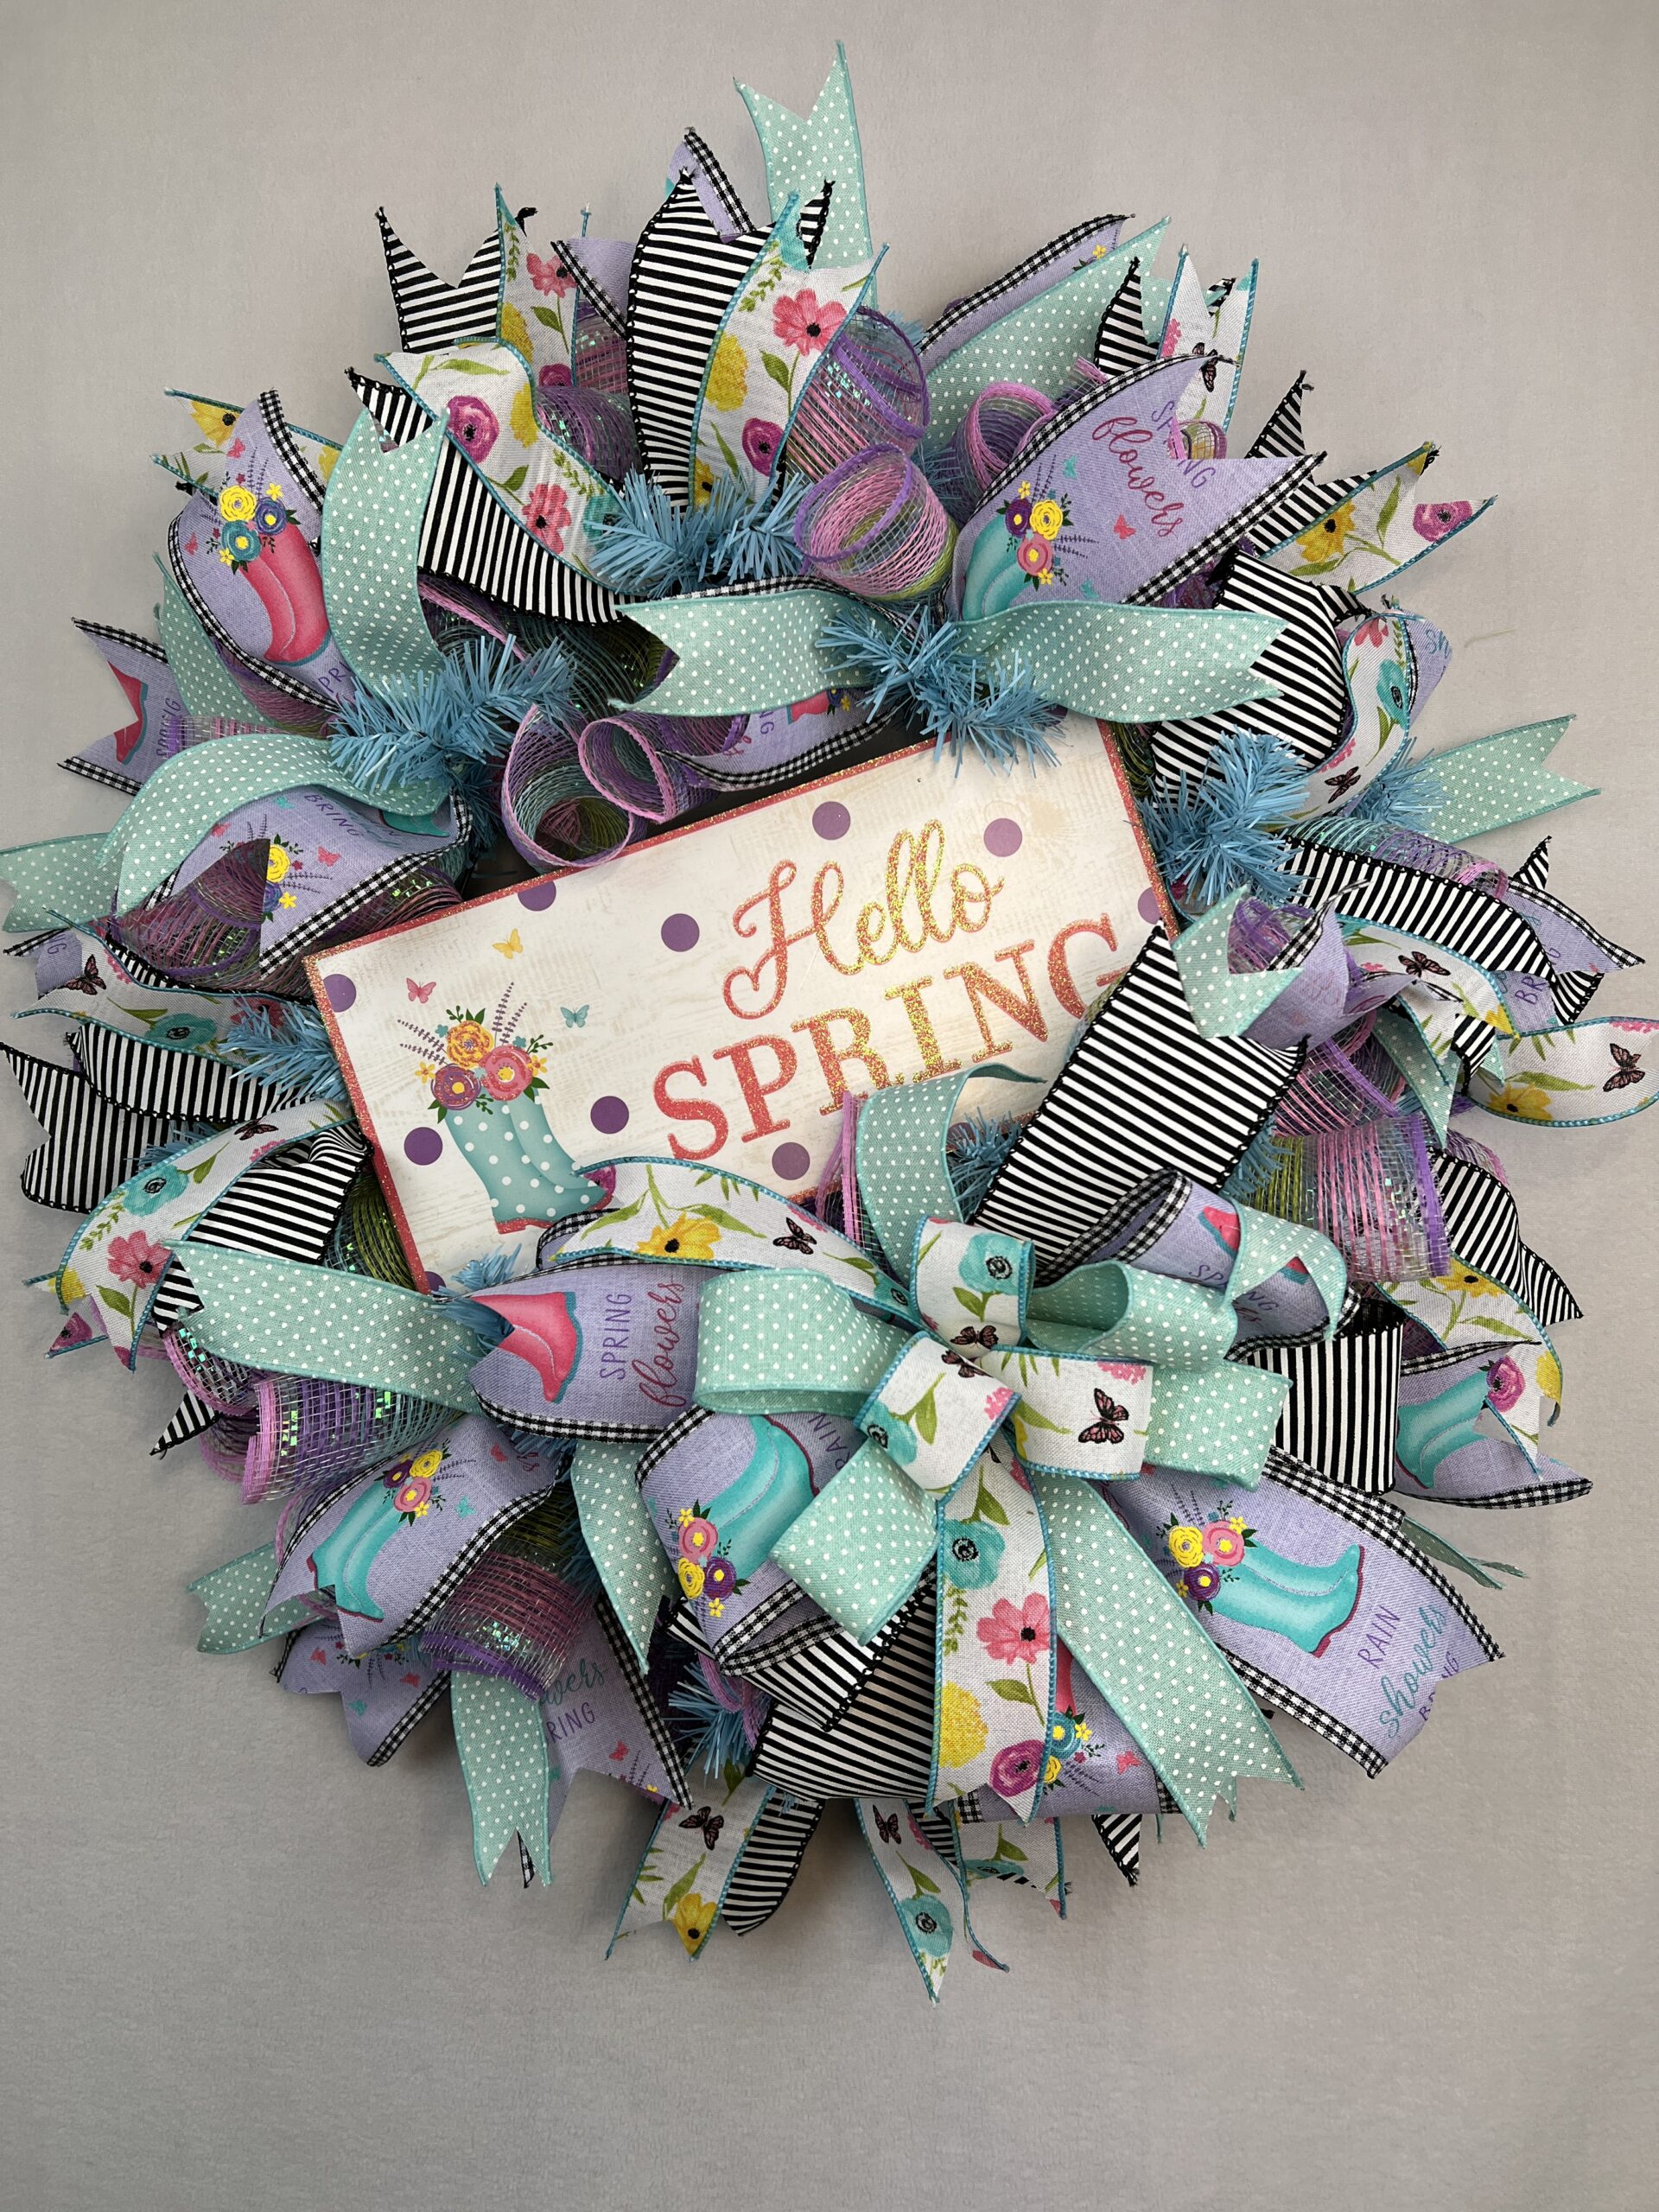
Hello Spring Deco Mesh Wreath
“Welcome the season of renewal and growth with a beautiful ‘Hello Spring’ wreath that will brighten up your front door.”
Spring is a wonderful time of year when the world comes back to life and nature is in full bloom. It’s a time when we can bring some of that natural beauty into our homes with a lovely spring wreath.
Spring wreaths come in all shapes and sizes, from bright and bold to soft and subtle. Some popular materials for creating a spring wreath include fresh flowers, greenery, twigs, and even bird nests. Whether you prefer a more traditional look or something more modern and unique, a spring wreath can add a touch of seasonal charm to your home’s decor. So why not take a stroll through your local craft store or flower shop and see what inspires you? With a little creativity and imagination, you can create a beautiful spring wreath that will welcome the season and all its beauty into your home and greeting your guests with open arms.

In this post you will learn:
-
- Count you tinsel ties on your work wreath form, usually there are 18 on the bottom and 8 on the top.
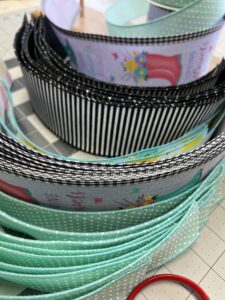
- Cut 9 pieces of each ribbon at 14″ long
- Dovetail all ribbons
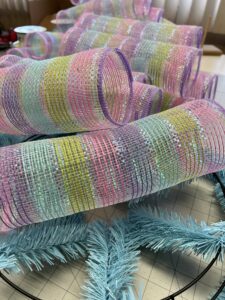
- Cut mesh 8 pieces at 18″long and 20 pieces at 10″ long using spring colored 10-1/2″ wide deco mesh
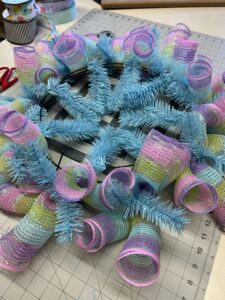
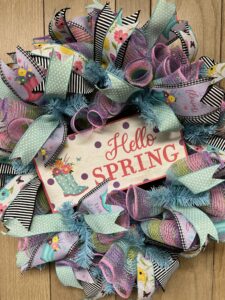
Add your deco mesh to your wreath work form:
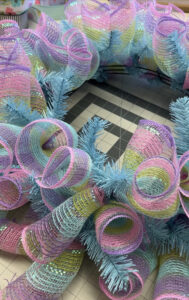
- Take 2, 10″ pieces of mesh and make two curls and then place them together in a twist tie in an X all around the bottom of the wreath frame
- Using the 20″ pieces of deco mesh make a ruffle and place in a twist tie, twist the tie tightly to hold the deco mesh in place, go all around the bottom of the wreath frame.
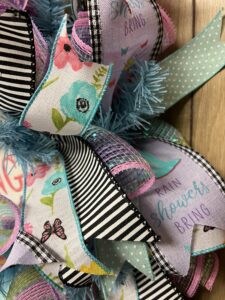
Add ribbon tails to the deco mesh:
- Layer the ribbons together, smaller one on top
- Fold them in half, unfold and pinch them in the middle
- Add to twist tie and twist to secure
- Form an X with the ribbons
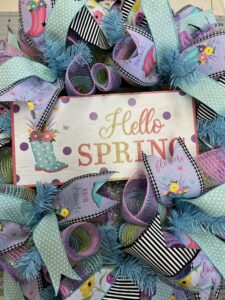
Prep and attach sign to wreath:
- Staple a chenille stem or florist wire in each corner of your sign
- Hot glue over the staples for added strength
- Place sign on wreath and bring the chenille stems (through the spaces between the deco mesh) and twist onto the wire frame, securing it tightly
- Trim any excess of the chenille stem with wire cutters
- Add a chenille stem hanger to outer wire of wreath work form
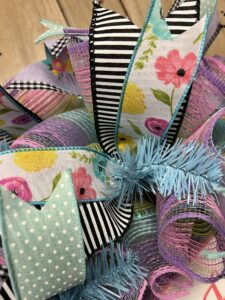
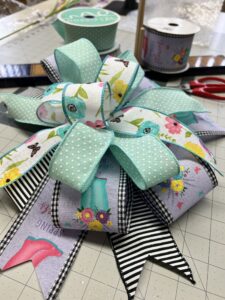
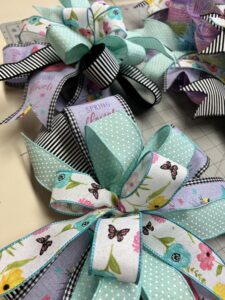
Make a Bow:
- Using an E-Z Bowmaker, take your 2-1/2″ ribbon and measure out an 8″ ribbon tail with ribbon facing up
- Twisting the ribbon as you bring it thru the 2 wooden dowels,(the ribbon will be facing down) measure 6 inches and loop the ribbon back thru the dowels
- Twisting the ribbon again as you bring it thru the dowels, (the ribbon will be facing down) measure 6 inches and loop the ribbon back thru the dowels
- Twisting the ribbon again as before one more time for a third loop, then just bring your ribbon thru the dowels without twiisting it
- Measure out an 8″ tail and cut
- Continue with your next 2-1/2″ ribbon except start on the opposite side.
- Add your next layer of ribbon using the 1-1/2″ ribbon starting on the opposite side.
- Next layer, your other 1-1/2″ inch ribbon
- Take 2 chenille stems and twist them together to make one long one
- Hold your bow close to the dowels tightly as you remove it from the bow maker.
- Wrap chenille stem around the center and twist the chenille stems, not the bow, to tighten
- Dovetail your ribbon tails and fluff your bow
- Beautiful!

Placement of your bow:
- Placing your bow on your wreath is entirely up to you. Just remember not to cover any words on your sign with your bow.
- Place your bow on your wreath and pass the chenille stems (through the spaces between the deco mesh) and twist onto the wire frame, securing it tightly.
- Trim off any excess of the chenille stem with wire cutters.

Hope you have enjoyed this quick tutorial as much as I have sharing it with you.
Happy Wreath Creating,
Joan,
The Wreath Creator
-
- What Supplies you will need to make a “Hello Spring” deco mesh wreath
- Cutting your ribbon tails and deco mesh
- Attaching your deco mesh and ribbon tails to your wire wreath frame
- Prepping and attaching your sign
- Making your bow/bows and attaching them to your wreath
- Adding picks to your wreath
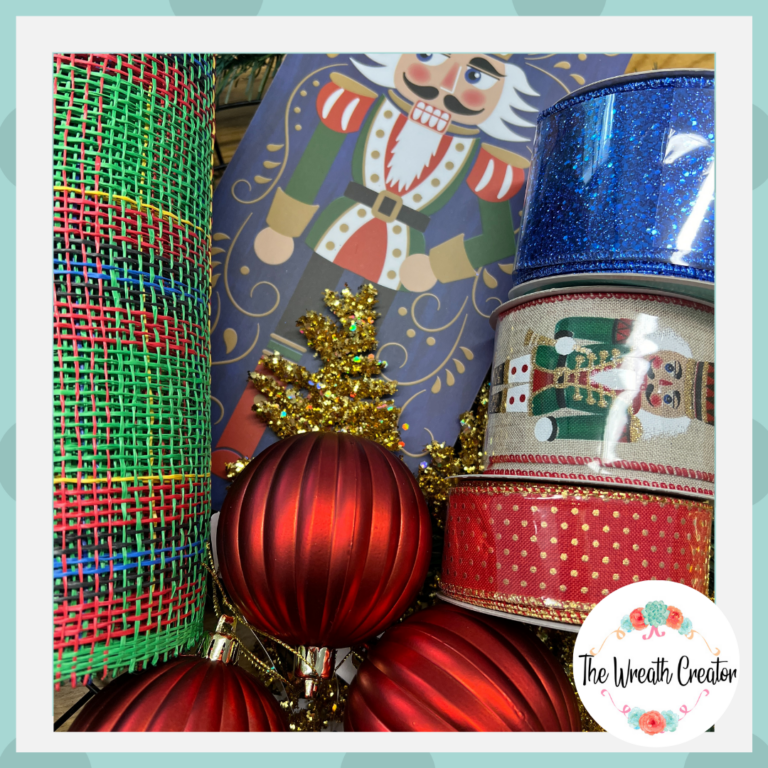
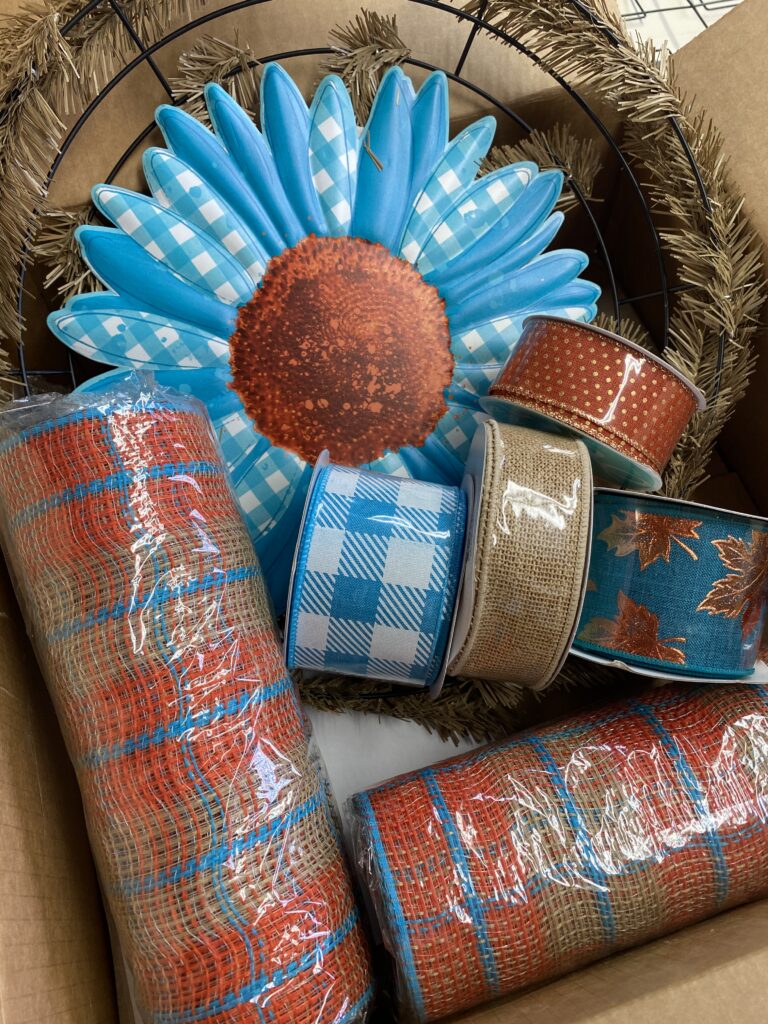
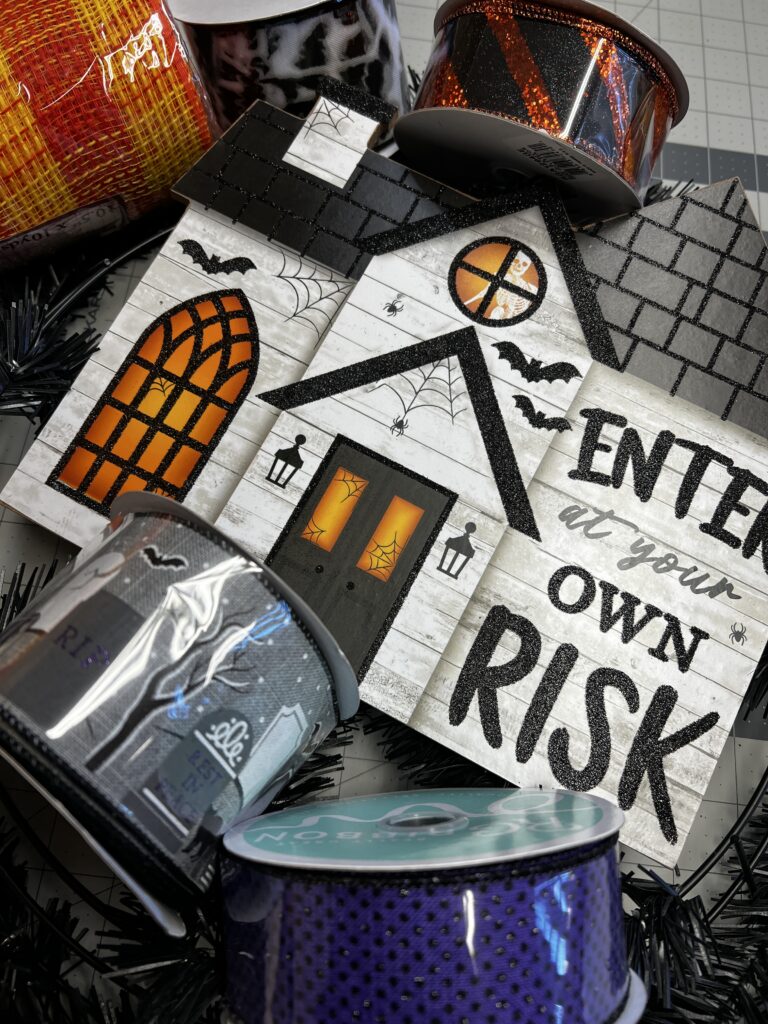
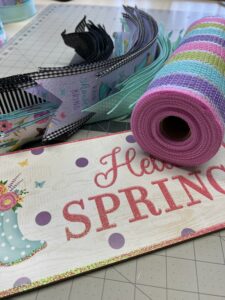
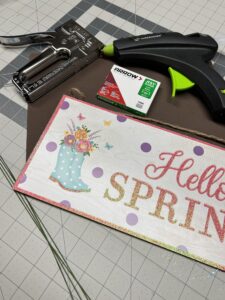
To make a “Hello Spring” wreath, you will need:
- Spring sign
- 15″ tinsel tie wreath work form (blue, teal or pink) any color that coordinates with your ribbons and sign
- Two rolls of 1-1/2″ wired ribbon that coordinates with your sign
- Two rolls or 2-1/2″ wired ribbon that coordinates with your sign
- 10″ deco mesh-spring colors
- Scissors
- Cutting mat
- Rotary cutter
- Chenille stems, pipe cleaners or florist wire
- Heavy duty staple gun with 1/4″ staples
Cutting your ribbons and deco mesh:
-
- Count you tinsel ties on your work wreath form, usually there are 18 on the bottom and 8 on the top.
- Cut 9 pieces of each ribbon at 14″ long
- Dovetail all ribbons
- Cut mesh 8 pieces at 18″long and 20 pieces at 10″ long using spring colored 10-1/2″ wide deco mesh
Add your deco mesh to your wreath work form:
- Take 2, 10″ pieces of mesh and make two curls and then place them together in a twist tie in an X all around the bottom of the wreath frame
- Using the 20″ pieces of deco mesh make a ruffle and place in a twist tie, twist the tie tightly to hold the deco mesh in place, go all around the bottom of the wreath frame.
Add ribbon tails to the deco mesh:
- Layer the ribbons together, smaller one on top
- Fold them in half, unfold and pinch them in the middle
- Add to twist tie and twist to secure
- Form an X with the ribbons
Prep and attach sign to wreath:
- Staple a chenille stem or florist wire in each corner of your sign
- Hot glue over the staples for added strength
- Place sign on wreath and bring the chenille stems (through the spaces between the deco mesh) and twist onto the wire frame, securing it tightly
- Trim any excess of the chenille stem with wire cutters
- Add a chenille stem hanger to outer wire of wreath work form
Make a Bow:
- Using an E-Z Bowmaker, take your 2-1/2″ ribbon and measure out an 8″ ribbon tail with ribbon facing up
- Twisting the ribbon as you bring it thru the 2 wooden dowels,(the ribbon will be facing down) measure 6 inches and loop the ribbon back thru the dowels
- Twisting the ribbon again as you bring it thru the dowels, (the ribbon will be facing down) measure 6 inches and loop the ribbon back thru the dowels
- Twisting the ribbon again as before one more time for a third loop, then just bring your ribbon thru the dowels without twiisting it
- Measure out an 8″ tail and cut
- Continue with your next 2-1/2″ ribbon except start on the opposite side.
- Add your next layer of ribbon using the 1-1/2″ ribbon starting on the opposite side.
- Next layer, your other 1-1/2″ inch ribbon
- Take 2 chenille stems and twist them together to make one long one
- Hold your bow close to the dowels tightly as you remove it from the bow maker.
- Wrap chenille stem around the center and twist the chenille stems, not the bow, to tighten
- Dovetail your ribbon tails and fluff your bow
- Beautiful!
Placement of your bow:
- Placing your bow on your wreath is entirely up to you. Just remember not to cover any words on your sign with your bow.
- Place your bow on your wreath and pass the chenille stems (through the spaces between the deco mesh) and twist onto the wire frame, securing it tightly.
- Trim off any excess of the chenille stem with wire cutters.