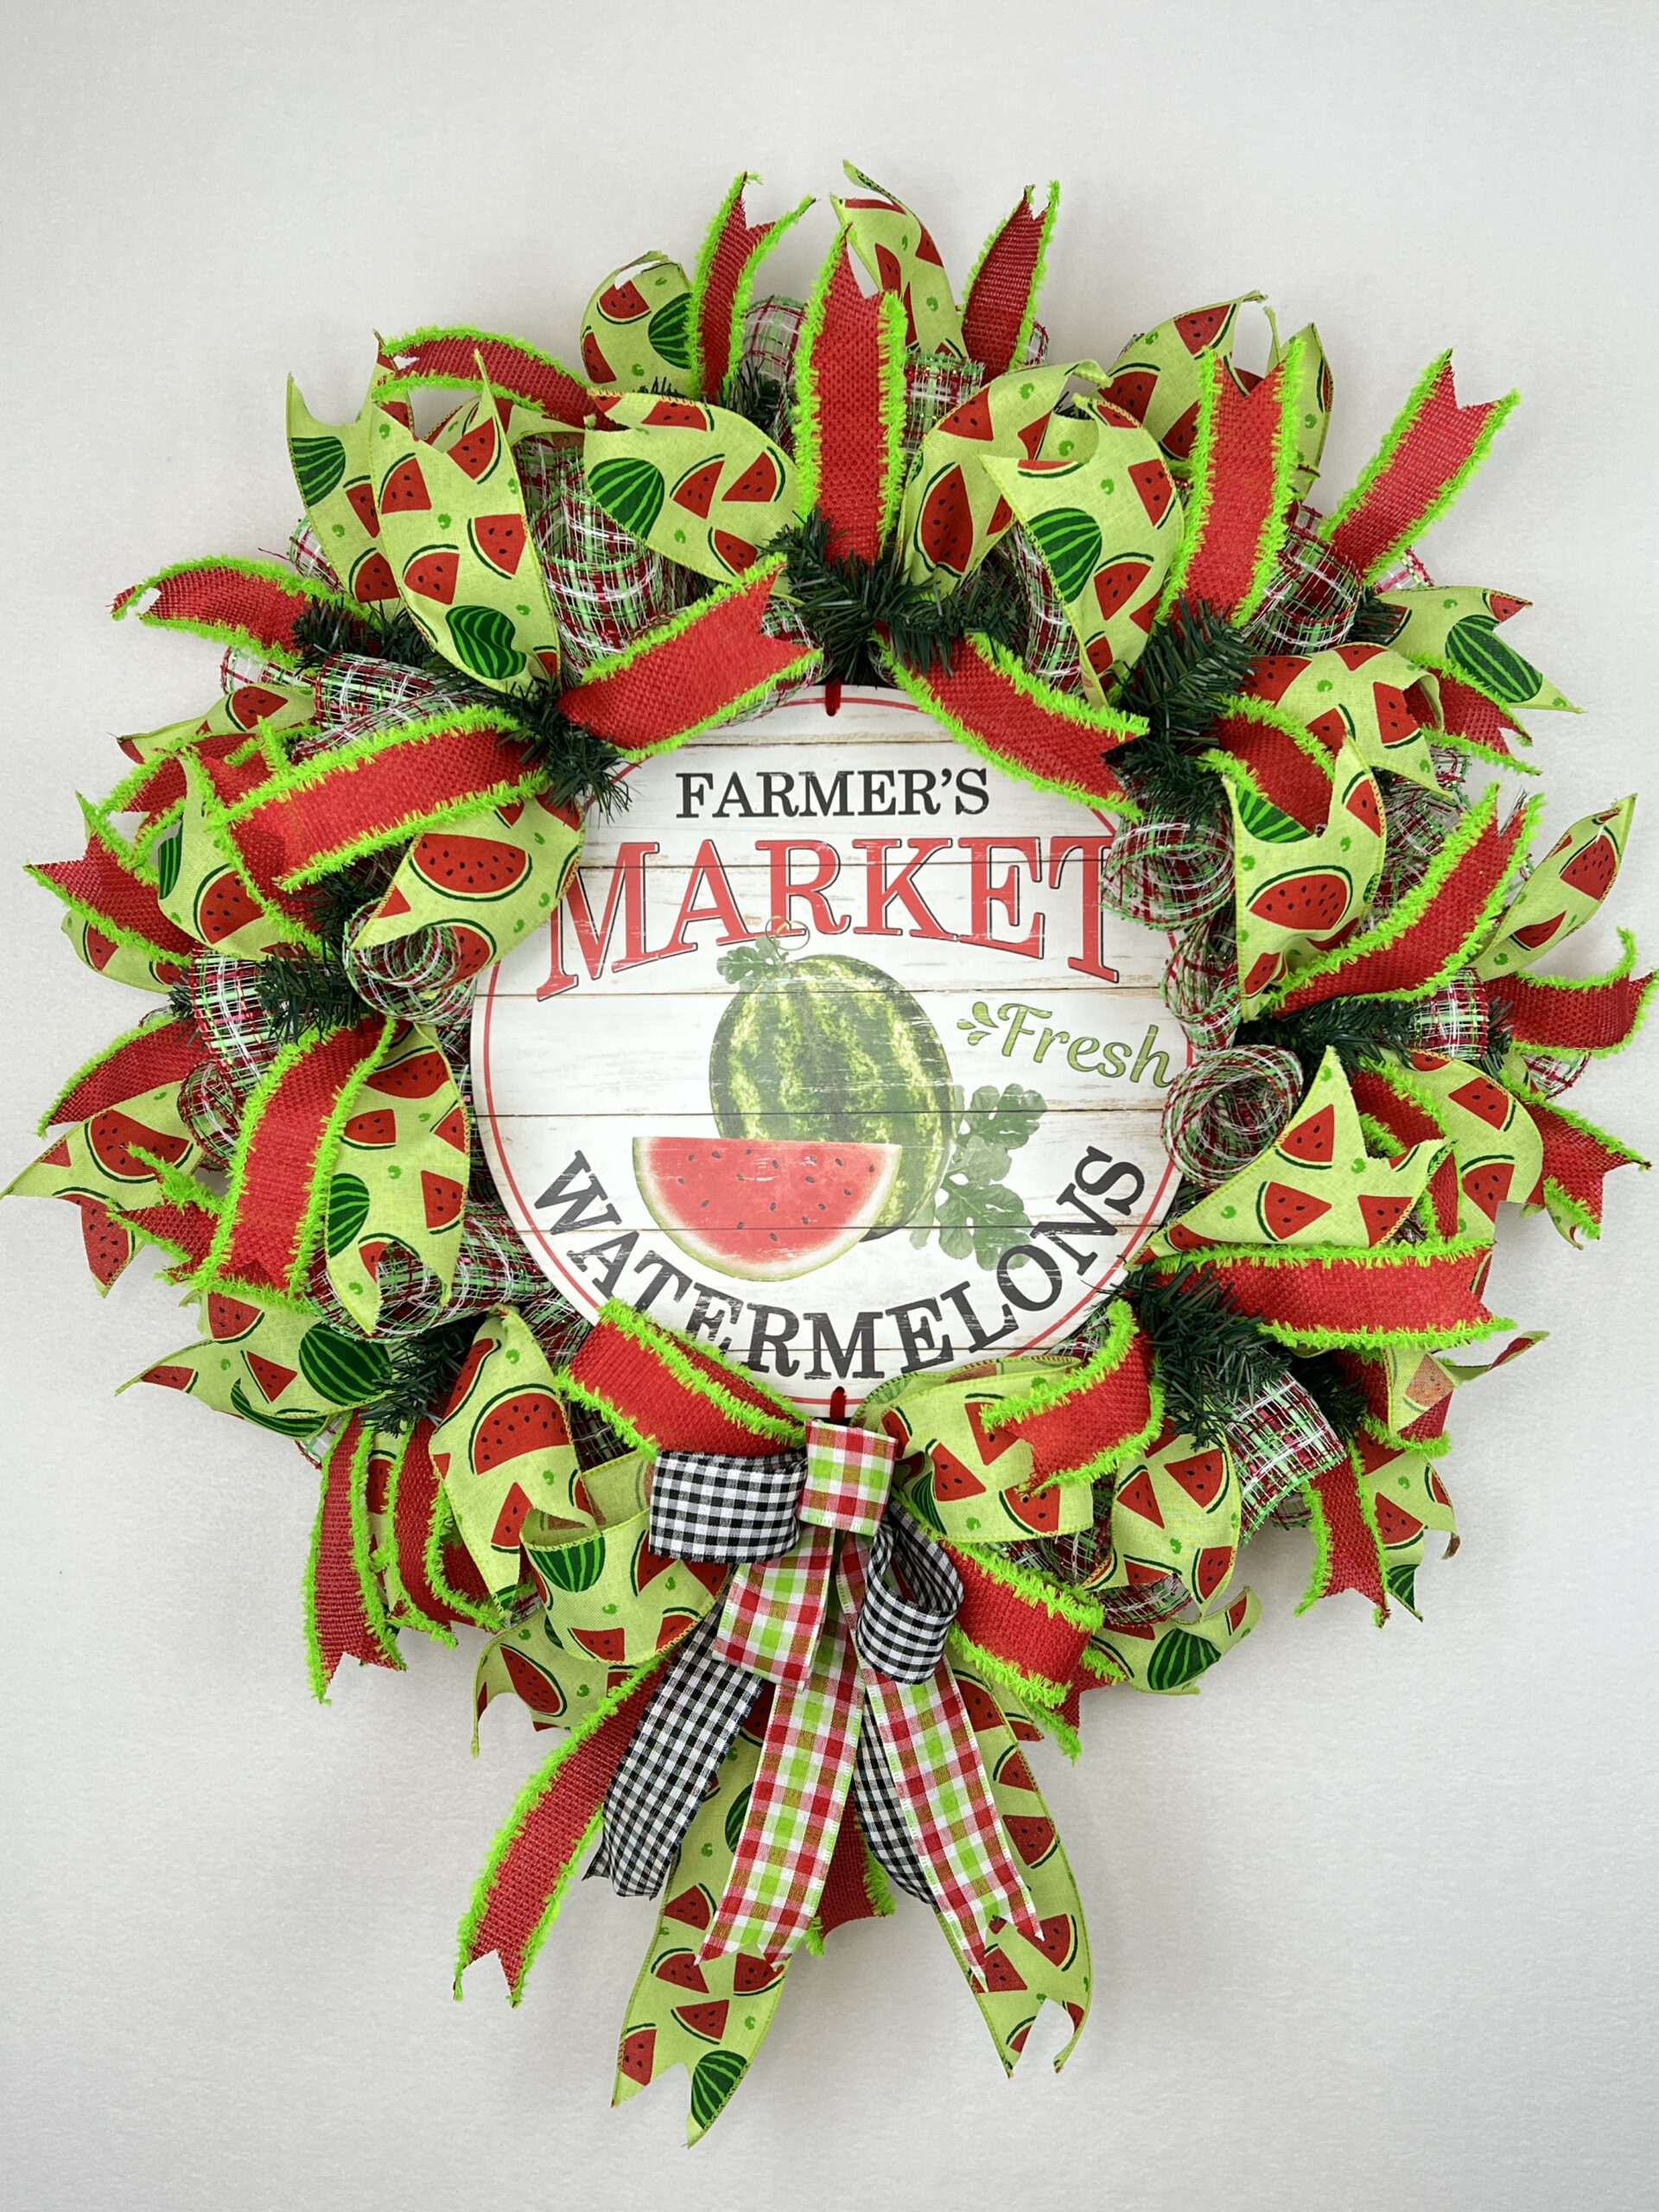
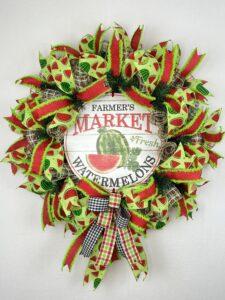
Farmer’s Market Summer Wreath
Welcome to our delightful corner of the blogosphere, where we celebrate the beauty of nature and all things handmade. Today, we are excited to dive into the world of crafting and embrace the vibrant spirit of summer with a unique and charming project: the Farmer’s Market Summer Wreath.
In this blog post, we will guide you step-by-step through the process of creating your very own Farmer’s Market Summer Wreath. Whether you’re an experienced crafter or a novice eager to try something new, this project is perfect for unleashing your creativity and infusing your home with the vibrancy of summer.
Join us as we explore the selection of materials, share expert tips on arranging and securing your wreath, and provide ideas for personalizing it with your unique touch. So, let your imagination bloom and your crafty spirit soar as we embark on this delightful journey. Let’s gather our supplies, put on our creative hats, and embrace the beauty of the Farmer’s Market Summer Wreath together. Are you ready to infuse your space with the essence of summer? Let’s get started!
In this post you will learn:
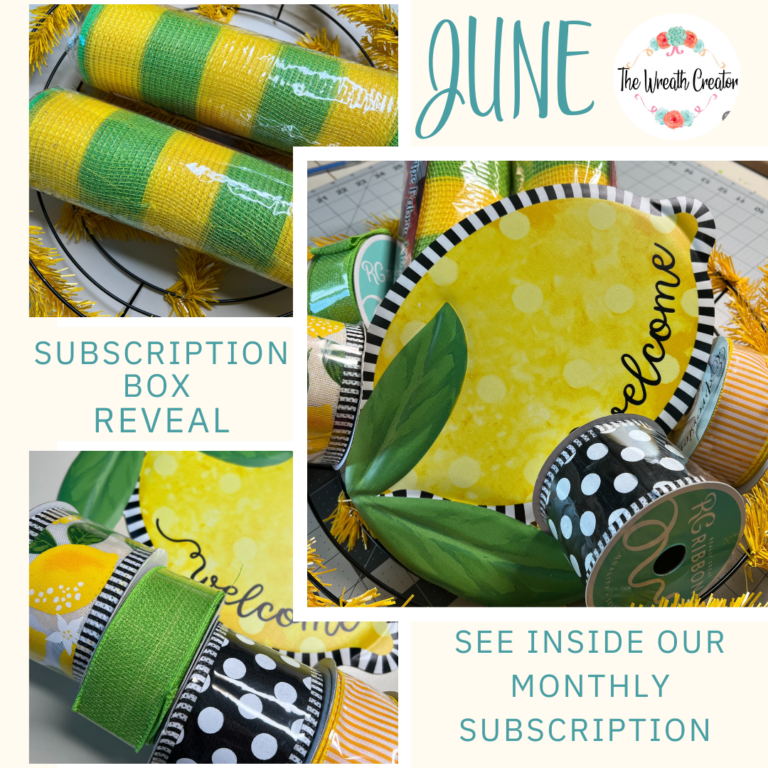
- What Supplies you will need to make a Farmer’s Market deco mesh wreath
- Cutting your ribbon tails and deco mesh
- Attaching your deco mesh and ribbon tails to your wire wreath frame
- Prepping and attaching your sign
- Making your bow/bows and attaching them to your wreath
- Adding picks to your wreath
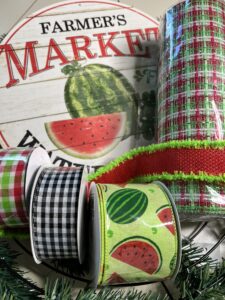
To make a Farmer’s Market wreath, you will need:
- Farmer’s Market sign
- 15″ tinsel tie wreath work form, any color that coordinates with your ribbons and sign
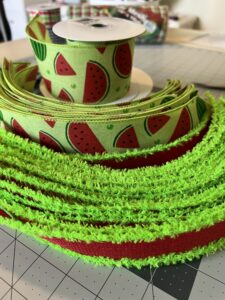
- One roll of 1.5″ red and green wired ribbon
- One roll of 2.5″ watermelon wired ribbon
- One 10″ roll of green deco mesh
- Two rolls of 1.5″ black and white gingham wired ribbon and green/red/white plaid to be used in the bow
- Scissors
- Cutting mat
- Rotary cutter
- Chenille stems, pipe cleaners or florist wire
Cutting your ribbons and deco mesh
- Cut 18 pieces of each 2.5″ watermelon ribbon at 13″ long
- Cut 18 pieces of the 1.5″ red/green ribbon 13″ long
- Dovetail all ribbons
- Cut mesh 18 pieces at 20″long of your 10″ wide deco mesh
Add your deco mesh to your wreath work form:
- Take a 20″ pieces of mesh and make a woodland ruffle
- Add all around the bottom ring of the wreath frame and then the top ring of the wreath frame
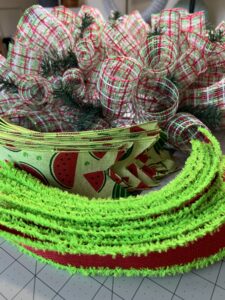
Add ribbon tails to the deco mesh:
- Layer the ribbons together, smaller one on top
- Fold them in half, unfold and pinch them in the middle
- Add to twist tie and twist to secure
- Form an X with the ribbons
- Add ribbon tails all around the bottom and top rings of your wreath frame

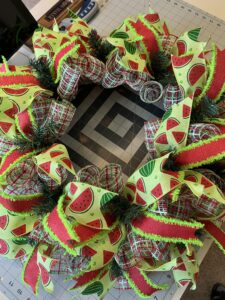
Prep and attach sign to wreath:
- Place one chenille stem in the top hole of sign and twist then same to bottom hole of sign.
- Place sign on wreath and bring the chenille stems (through the spaces between the deco mesh) and twist onto the wire frame, securing it tightly
- Trim any excess of the chenille stem with wire cutters
- Add a chenille stem hanger to outer wire of wreath work form

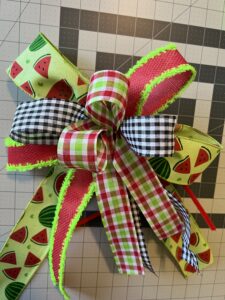
Make a Bow:
- Using an E-Z Bowmaker, take your 2-1/2″ watermelon ribbon and measure out an 10″ ribbon tail with ribbon facing up
- twisting the ribbon as you bring it thru the 2 wooden dowels, (the ribbon will be facing down) measure 6 inches and loop the ribbon back thru the dowels
- twisting the ribbon again as you bring it thru the dowels, (the ribbon will be facing down) measure 6 inches and loop the ribbon back thru the dowels
- just bring your ribbon thru the dowels without twisting it measure out an 10″ tail and cut, move your ribbon tails to the bottom of the bow maker.
- Continue with your 1-1/2″ red/green ribbon and make a 10″ tail with the ribbon facing up
- twisting the ribbon as you bring it thru the 2 wooden dowels, (the ribbon will be facing down) measure 5 inches and loop the ribbon back thru the dowels
- twisting the ribbon again as you bring it thru the dowels, (the ribbon will be facing down) measure 5 inches and loop the ribbon back thru the dowels
- just bring your ribbon thru the dowels without twisting it, measure out a 10″ tail and cut, move your ribbon tails to the bottom of the bow maker.
- Add your next layer of ribbon using the 1-1/2″ black/white gingham ribbon measuring out an 8″ ribbon tail
- twisting the ribbon as you bring it thru the 2 wooden dowels, (the ribbon will be facing down) measure 4 inches and loop the ribbon back thru the dowels
- twisting the ribbon again as you bring it thru the dowels, (the ribbon will be facing down) measure 4 inches and loop the ribbon back thru the dowels
- just bring your ribbon thru the dowels without twisting it, measure out an 8″ and cut, move your ribbon tails to the bottom of the bow maker.
- Add your next layer of ribbon using the 1-1/2″ red/white/green plaid ribbon measuring out an 8″ ribbon tail
- twisting the ribbon as you bring it thru the 2 wooden dowels, (the ribbon will be facing down) measure 4 inches and loop the ribbon back thru the dowels
- twisting the ribbon again as you bring it thru the dowels, (the ribbon will be facing down) measure 4 inches and loop the ribbon back thru the dowels
- just bring your ribbon thru the dowels without twisting it, measure out an 8″ and cut, move your ribbon tails to the bottom of the bow maker.
- Take 2 chenille stems and twist them together to make one long one or use florist wire.
- Hold your bow close to the dowels tightly as you remove it from the bow maker.
- Wrap chenille stem around the center and twist the bow, not the chenille or florist wire, to tighten
- Dovetail your ribbon tails and fluff your bow
- Beautiful!
Placement of your bow:
- On this wreath, we placed the bow just below the sign because we wanted the ribbon tails to dangle below the wreath.. Just remember not to cover any words on your sign with your bow.
- Place your bow on your wreath and pass the chenille stems (through the spaces between the deco mesh) and twist onto the wire frame, securing it tightly.
- Trim off any excess of the chenille stem with wire cutters.
Watch the Video:
Joan, The Wreath Creator