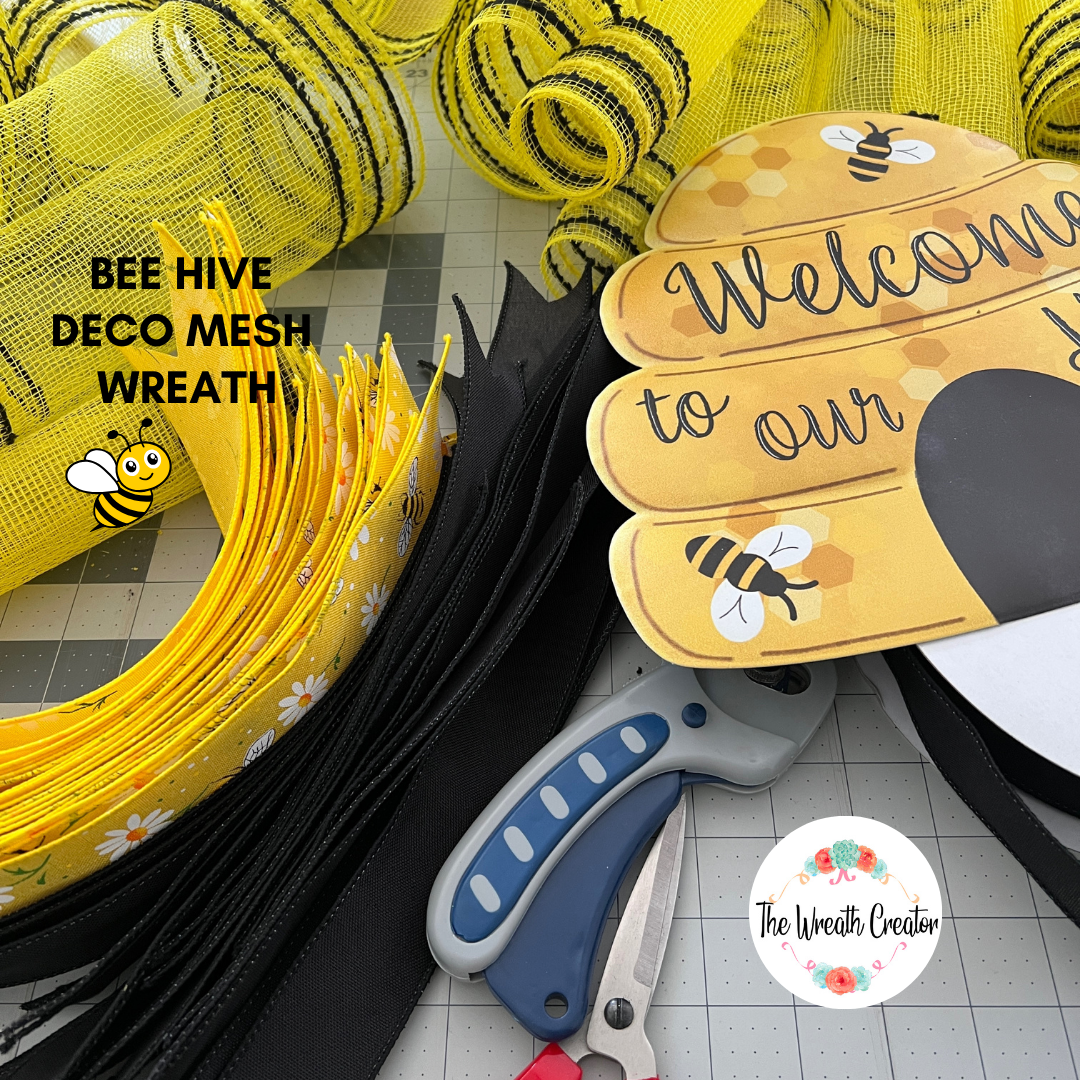
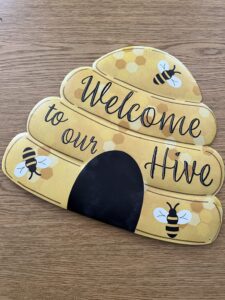
Welcome to Our Hive
Welcome to Our Hive: Deco Mesh Wreath Tutorial
Hello, wreath enthusiasts! 🌼🐝
We’re buzzing with excitement to bring you a delightful new project that’s perfect for brightening up your home: the “Welcome to Our Hive” Deco Mesh Wreath. This charming wreath combines the vibrant colors of summer with the friendly spirit of bees, making it a wonderful addition to your front door. Let’s dive into the tutorial!
Supplies You’ll Need:
- “Welcome to Our Hive” metal sign
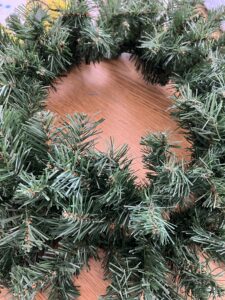
- 24″ pine wreath
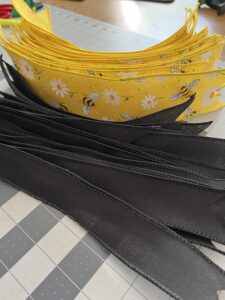
- 1.5″ black wired ribbon
- 2.5″ yellow wired ribbon with bees and flowers
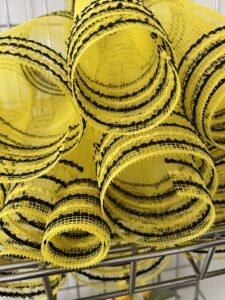
- One 10-yard roll of yellow deco mesh (10.5″ wide)
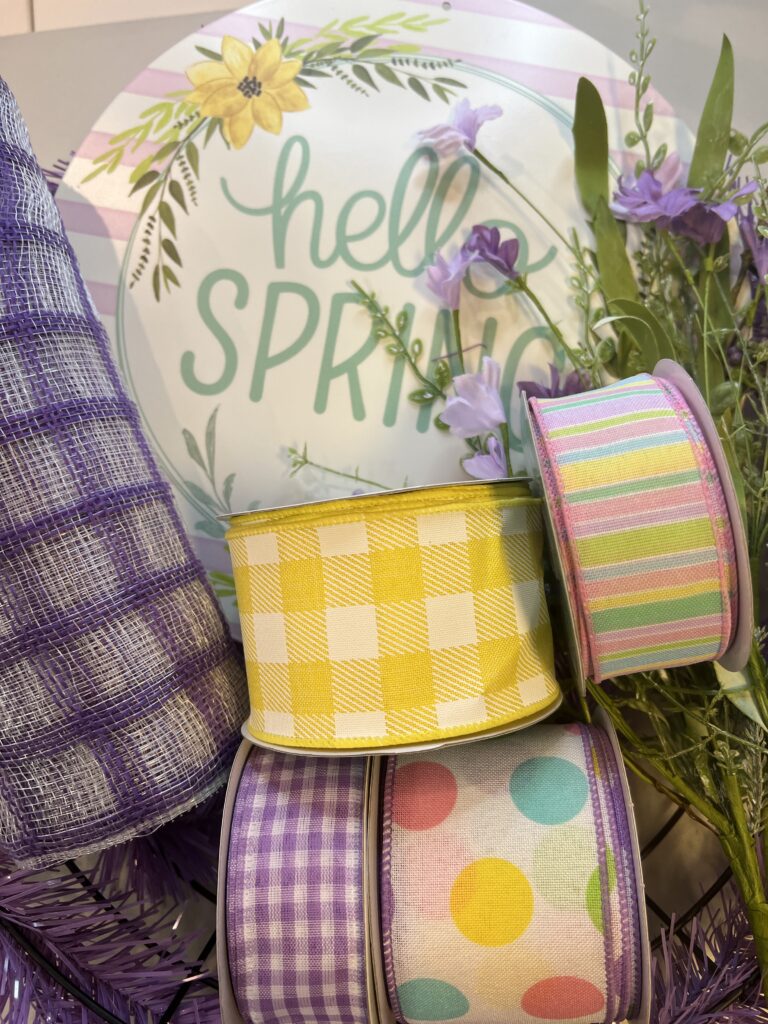
- Your choice of silk flowers (1-2 sprays)
Tools Needed:
-
Cutting Matt
-
Scissors
-
Rotary Cutters
-
Chenille stem (pipe cleaners) or florist wire, zip ties
-
Jewelery Punch
-
Hot glue gun
Step-by-Step Instructions:
1: Preparing Your Wreath Base
- Start with your 24″ pine wreath base. Fluff out the branches to create a full and even surface for attaching your materials. This will ensure that your wreath looks lush and inviting.
2: Cutting and Adding the Deco Mesh
- Take your yellow deco mesh and cut it into 20-inch sections 18 pieces.
- Take one piece of deco mesh and roll raw edge end inward 3 times, place clip, turn and roll other end 3 times and walk fingers up the middle to top roll, hold together by pinching both rolls together to form a bowtie or butterfly. Place deco mesh between two ties of the bottom ring and twist 2 times to hold deco mesh. Continue aroung bottom ring evenly 10 places. Jump to top ring and place deco mesh in 8 places spaced evenly.
3: Cutting and Attaching the Ribbons
- Cut ribbon tails 13″ long, 18 pieces of each color and dove tail both ends of ribbon tails.
- Take one 2.5′ ribbon tail and stack the 1.5″ ribbon tail on top, fold to find the center, unfold and pinch in the middle. Place these two stacked ribbon tails in each twist tie. Just open the twist tie , place ribbon tails between ties and twist two times. Along the bottom ties, seperate the tails bringing them out to the sides of the wreath. On the top ring separate the ribbons in an X.
4: Adding the Sign
- We added a metal sign, so we punched holes in three places with our metal jewelry punch. We attached florist wire in each hole and twisted the wire together on the back side of the sign. Place your “Welcome to Our Hive” metal sign in the center of the wreath. Attach it securely using the floral wire to the top ring of the pine wreath frame. Make sure it’s centered and visible, as this will be the focal point of your wreath. Don’t forget to trim down the ends to an inch and wrap wire to inside of ring.
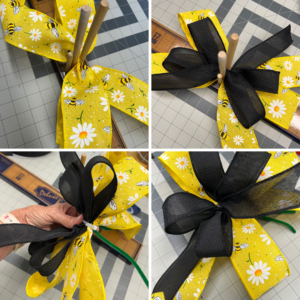
5: Making the Bow
- Our bow was made on a EZ bow-maker: 3 loops of the 2.5″ ribbon and 4 loops of the 1.5″ ribbon.
6: Incorporating Silk Flowers
- Select your silk flowers and arrange them around the wreath, filling in any gaps between the ribbons and mesh. We then placed and hot glued our sunflowers around the wreath. Choose flowers that complement the bee theme, such as sunflowers, daisies, or any other vibrant blooms.

Finishing Touches
- Step back and admire your work! Adjust any ribbons, mesh, or flowers to ensure everything is balanced and secure. Your “Welcome to Our Hive” wreath is now ready to hang and bring a cheerful, summery vibe to your home.
Share Your Creation!
We’d love to see your beautiful wreaths! Share your photos in our Facebook group and let’s inspire each other. Every wreath is a unique masterpiece, and we can’t wait to see your take on this project.
Thank you for crafting with us! We hope you enjoyed this tutorial and that your “Welcome to Our Hive” wreath brings a touch of joy and creativity to your home. Stay tuned for more exciting projects and happy wreath making! 🌼🐝
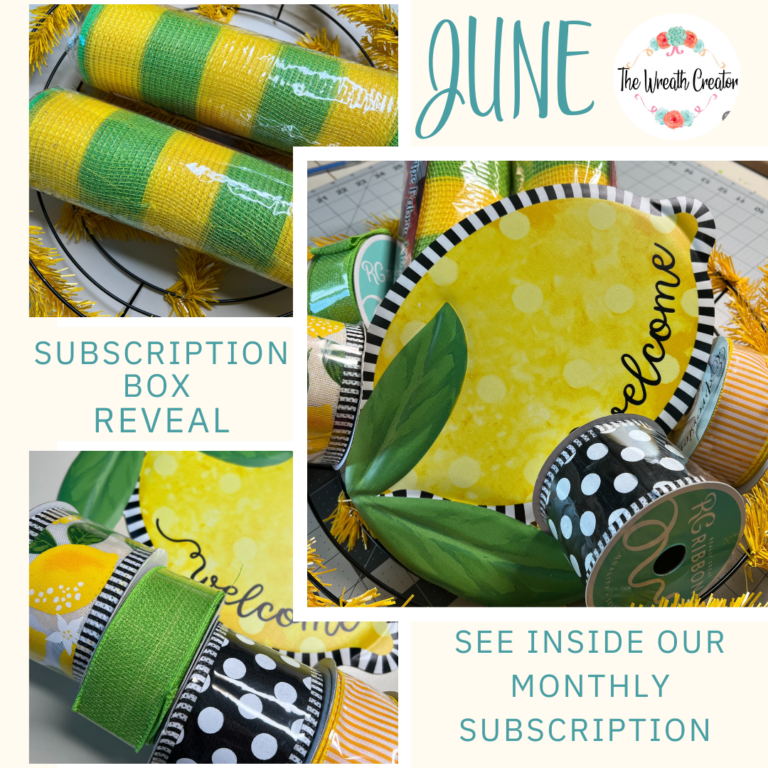
Join Our Monthly Subscription Kit
Want to take your wreath-making skills to the next level? Join our Wreath Creator Monthly Subscription Kit for exclusive access to premium materials, unique designs, and detailed tutorials! Get more information below.
4o